Category Archives: Snacks

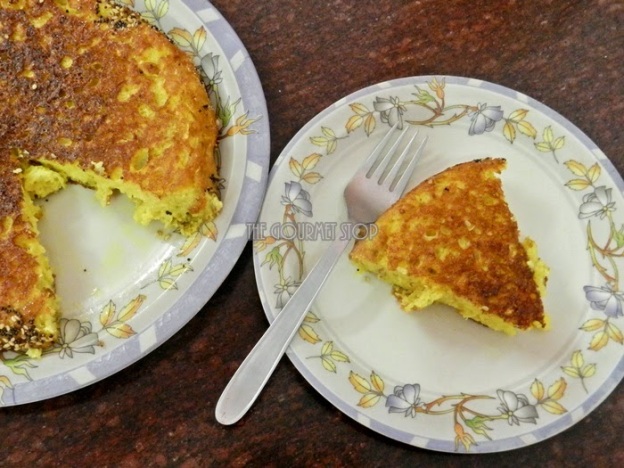
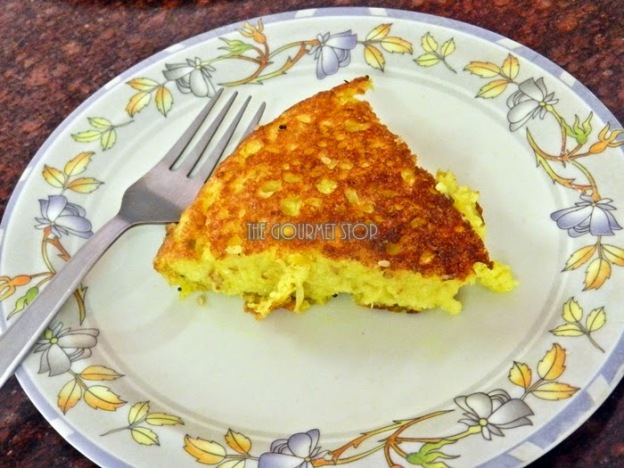
Gujarati Handvo Without Oven/OTG Recipe: Doodhi/Lauki Handva Recipe

Gujarati Handvo Without Oven/OTG Recipe: Doodhi/Lauki Handva Recipe

Gujarati Handvo Without Oven/OTG Recipe: Doodhi/Lauki Handva Recipe

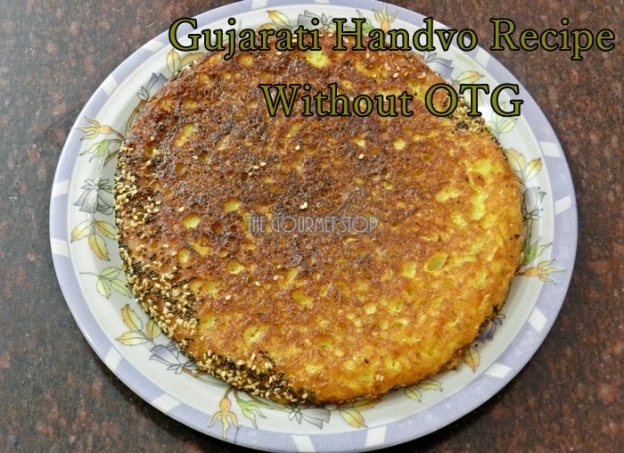
Handvo or Handva is a traditional Gujarati Farsan(Snack) and it tastes so delicious! Traditionally, women in Gujarat prepare the Handvo Flour (mixture of rice & many pulses) in large quantities and use it as required. It is also easily available in any local shop, market, super market in Gujarat. But for those, like me, who don’t stay in the state & still want to enjoy Handvo, here is a recipe from scratch where I soak the required the pulses & rice to make the batter. By this method too, the end result will be same as it is obtained while making Handvo from flour. Also, for those who do not own an Oven or OTG, I will show you how you can make it on burner! The procedure is a bit lengthy but at the end its all the worth!

Gujarati Handvo Without Oven/OTG Recipe: Doodhi/Lauki Handva Recipe

Click “Print” or “PDF” button below to save this recipe!
You will need:

1 Cup Rice (long or short grain)
1/2 Cup Tuvar Dal/Toor Dal/Pigeon Peas Split Pulses
1/4 Cup Chana Dal/Bengal Gram Whole
3 Tbsp Curd (Preferably Sour Curd)
1/4 Tsp Turmeric Powder
1/2 -1 Cup Water or as needed
2 Tbsp Oil
3 – 4 Tsp Green Chillies & Ginger Paste
2 Tsp Garlic Paste
2 Cups Grated Doodhi/Lauki/Bottle Gourd
1/2 Tsp + 1/2 Tsp Eno Fruit Salt (Non Flavoured)
Salt to taste

For tempering & cooking:

6 Tbsp + 6 Tbsp Oil
1 Tsp + 1 Tsp Mustard Seeds/Rai
1/4 Tsp + 1/4 Tsp Asafoetida/Hing
2 Dry Red Chillies Slit in half
1 Tsp + 1 Tsp Sesame Seeds/Til/Taal

Serving: Makes 2 Large Handvo. For 4-6 persons

Steps to Make Gujarati Handvo Without Oven/OTG:

  1. Wash and soak rice and all the daals in ample of water for 6-8 hours.
  2. Completely drain water from soaked rice & daals mixture.
  3. Add rice & daal mixture in a blending jar & grind it to a coarse paste using water. Consistency should be like a thick dosa batter.
  4. Pour the batter in a wide & deep vessel. Add Salt to taste – including for doodhi/bottle gourd which we will add later.
  5. Add turmeric powder, curd, oil. Mix well.
  6. Cover with a plate or lid & allow it to ferment for 7-8 hours.
  7. After the batter is fermented add, green chillies & ginger paste, garlic paste, grated doodhi/lauki/bottle gourd. Mix everything well.
  8. We are 2 handvo from this batter. So divide the batter in two equal portions.
  9. Add eno fruit salt to one portion which you will cook first & mix.
  10. Heat oil in a flat pan and add mustard seeds & allow it to crackle.
  11. Add asafoetida, dry red chilli split in half, sesame seeds/til/taal. Give it a quick stir.
  12. Pour half of the batter in which eno fruit salt is added in the pan. Spread it evenly with a spoon or spatula.
  13. Turn the heat to low setting & cover the pan with a lid. Cook for 20-25 minutes. Check after 25 minutes, it should have golden brown crust.
  14. Turn the gas off. And flip the handvo with the help of a plate.
  15. Turn the gas on. Set the flame again to a low setting.
  16. Place the pan back on the burner & add 1 Tbsp oil.
  17. Slide the handvo in the pan slowly. Cover it with a lid & cook for 20 -25 minutes other side as well.
  18. After 25 minutes, it should be cooked & ready to served.
  19. Cook another Handvo from the remaining batter in the similar way.
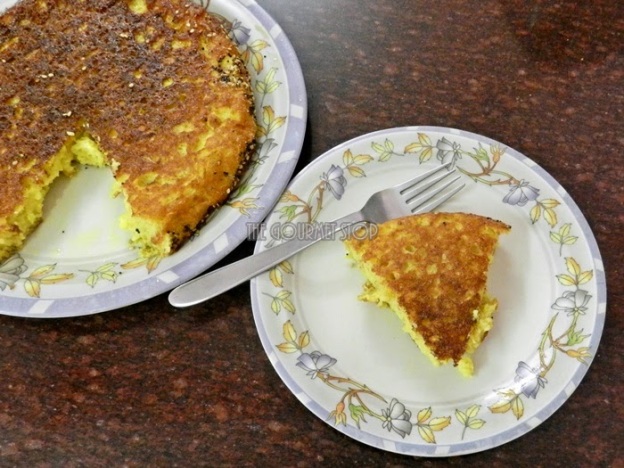
  20. Cut into desired shape pieces & serve with Green Chutney & Sauce.

Important Pointers:

  • For soft & fluffy Handvo, add Eno fruit salt just before you pour it in the pan for cooking. If you will let it sit for long, Handvo can turn out hard.
  • Handvo batter takes time for cooking, so the heat should be always on low setting or else it can be raw from the middle. You need atleast 25 minutes on both the sides.
  • For the batter, make sure the rice & daals mixture is grinded coarsely. You won’t get nice grainy Handvo if you grind it to a fine paste. So it is best if you soak everything in one bowl & grinding it together unlike dosa batter, where you grind rice & daal separately.

If you want to see how I made this Gujarati Handvo Without Oven/OTG, then head over to video recipe by clicking this link:

Click “Print” or “PDF” button below to save this recipe!
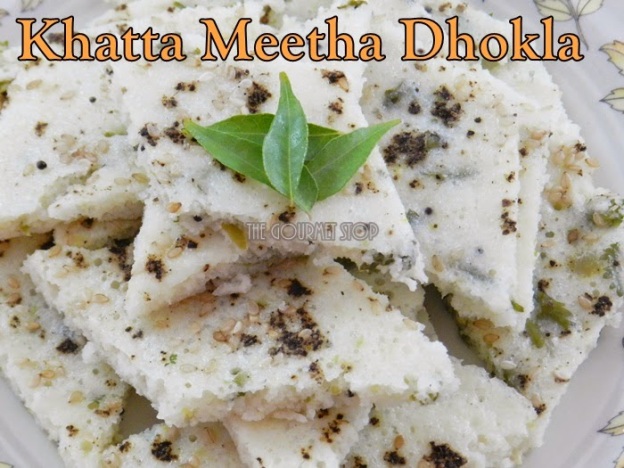
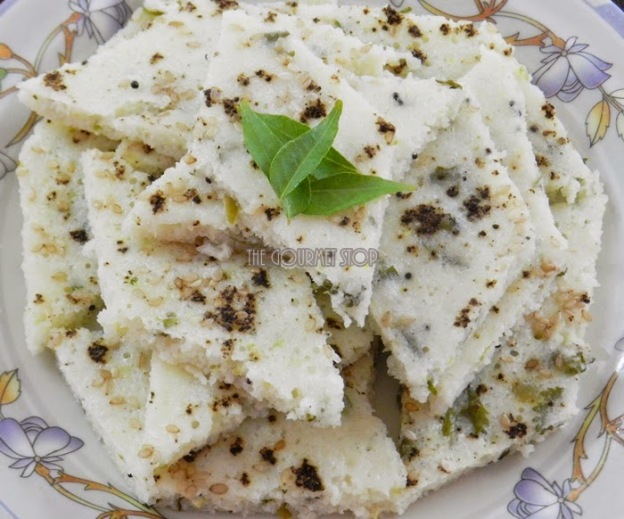
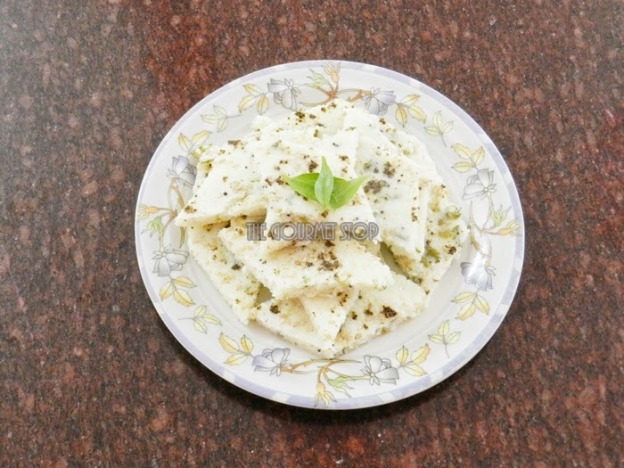
Khatta Meetha Dhokla Recipe: How to make MTR/Gits Instant Dhokla Mix Recipe at Home!

Khatta Meetha Dhokla Recipe: How to make MTR/Gits Instant Dhokla Mix Recipe at Home!

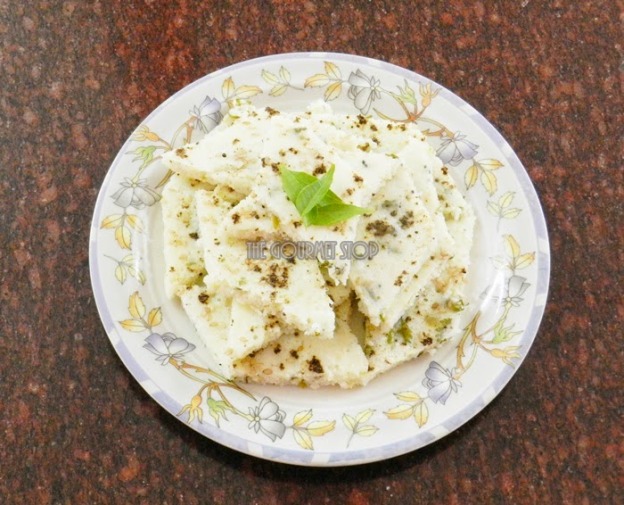
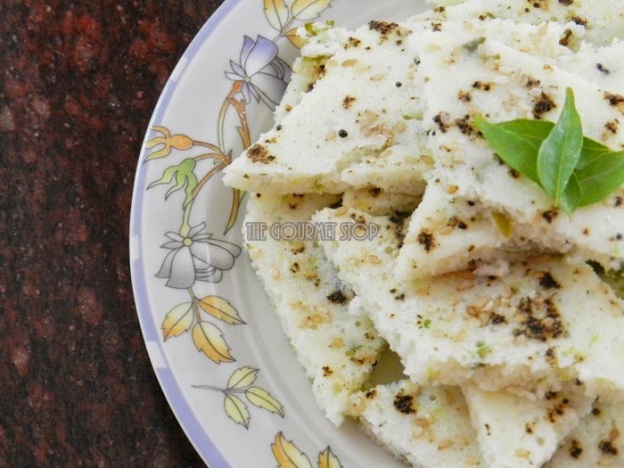
In the past, whenever I had gone to supermarket for grocery shopping, I always ALWAYS ended up picking up lots of Instant Mix packets of Dhokla, Khaman, Idlis, Dosas etc. I used these instant packets almost everyday for a quick breakfast fix. But soon I realised, these packets actually add a lot to my monthly grocery budget & most importantly, it always kind of scared me to look at those preservatives they mention in their ingredients list! So, I decided no more instant mixes at my home! And true to TGS motto,“Make at Home, here is an easy recipe of Khatta Meetha Dokhla. If you will follow the proportion of ingredients as mentioned below, I promise you will never buy an instant mix packet again. It is easy to make but it takes a little pre-planning for making the batter & allowing it to ferment but it does not end up consuming your time!

Khatta Meetha Dhokla Recipe: How to make MTR/Gits Instant Dhokla Mix Recipe at Home!

Khatta Meetha Dhokla Recipe: How to make MTR/Gits Instant Dhokla Mix Recipe at Home!

Khatta Meetha Dhokla Recipe: How to make MTR/Gits Instant Dhokla Mix Recipe at Home!

Khatta Meetha Dhokla Recipe: How to make MTR/Gits Instant Dhokla Mix Recipe at Home!

Click “Print” or “PDF” button below to save this recipe!
You will need:

1/2 Cup Rice
1/4 Cup White Urad Dal / Split Urad Dal
1/4 Cup Rava/Semolina/Sooji
1/4 Curd
Water as needed to grind the batter
2 Tsp Green Chillies & Ginger Paste
2 Tsp Sugar
1 Lemon Juice
1-2 Tbsp Freshly chopped Coriander Leaves
1 Tbsp Oil + oil for greasing
1/2 Tsp Mustard Seeds/Rai
1/4 Tsp Asafoetida/Hing
8-10 Curry Leaves
1/2 Tsp Eno Fruit Salt per plate (Total 1 1/2 Tsp)
 2-3 Pinch of Freshly Crushed Black Pepper Powder
2-3 Pinch of Sesame Seeds/Til/Taal
Curry leaves for garnish (optional)

Serving: 2-3 Persons

Serving suggestion: Serve with Green Coriander Chutney

Steps to Make Khatta Meetha Dokhla:

  1. Mix rice & urad dal in a vessel, wash & soak it in water for 4-5 hours.
  2. After 5 hours, grind it coarsely using water, consistency should be like dosa batter. For grinding, I used approximately 1/4 cup water.
  3. After grinding, take the batter in a bowl & add rava/semolina & curd. Mix well, cover with a lid & allow it to ferment for 5-6 hours.
  4. After 6 hours, once fermented, add salt to taste, Green chillies & ginger paste, sugar, lemon juice, freshly chopped coriander leaves. Mix it well & keep aside.
  5. In a small pan, heat oil add mustard seeds or rai, allow it to crackle.
  6. Add hing, curry leaves & switch off the gas.
  7. Add tempering to the batter & mix.
  8. Divide the batter into 3 equal portions. Add Eno only to the portion you are about to steam.
  9. In a steamer, place your greased Dhokla plate & allow the water to come to a boil.
  10. Pour the batter in the plate evenly. Use a spoon if required or just tap the vessel once
  11. Sprinkle black pepper powder & sesame seeds over the batter.
  12. Cover with lid & let it steam on high flame for 10-12 minutes
  13. After 12 minutes, remove the Dhokla plate from the steamer, allow it cool, then cut into pieces, garnish with curry leaves & serve with Green Coriander Chutney

Important Pointers:
  • Do not add eno to entire batter or it will harden. Add just before placing the plate in the steamer.
  • You can use long grain or short grain rice. I generally use short grain rice for dokhlas, dosa etc. as it is much cheaper.

If you want to see how I made this Khatta Meetha Dhokla Recipe, then head over to video recipe by clicking this link:


Click “Print” or “PDF” button below if you want to save this recipe!