Category Archives: easy recipe

How to Make McDonalds Oreo McFlurry at Home

How to Make McDonalds Oreo McFlurry at Home

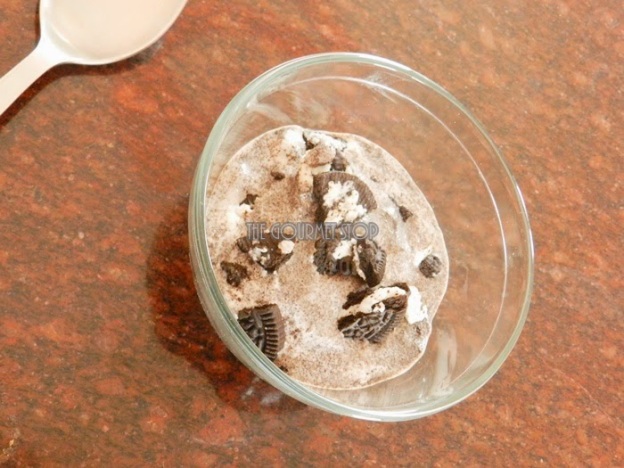
I don’t remember how many times I have had McDonald’s Oreo McFlurry till now! Whenever we, passed a McDonald’s counter in a mall, we always had to have some dessert because they are yummy! You can have it on the go, they are priced relatively cheaper & I kind of liked their innovative ideas they bring forth every few months in their menu. So, while enjoying the famous Oreo McFlurry it occurred to me, “hey I can make this at home”! It seems so simple & with just two trials, I made my very own version of McDonald’s Oreo McFlurry. When I added some cream to this recipe, I found it to be quite heavy & honestly my stomach never felt heavy whenever I ate it at McDonalds. So, I am totally skipping the cream plus you have an advantage of choosing low fat ice cream if you are health conscious & still want to indulge in this sweet treat once in a while.


How to Make McDonalds Oreo McFlurry at Home


Click “Print” or “PDF” button below to save this recipe

You will need:

Single Serve Cup Vanilla Ice Cream (75 ml) low or full fat
3 Oreo Biscuits

Serving: Single

Steps to Make MacDonalds Oreo McFlurry At Home:

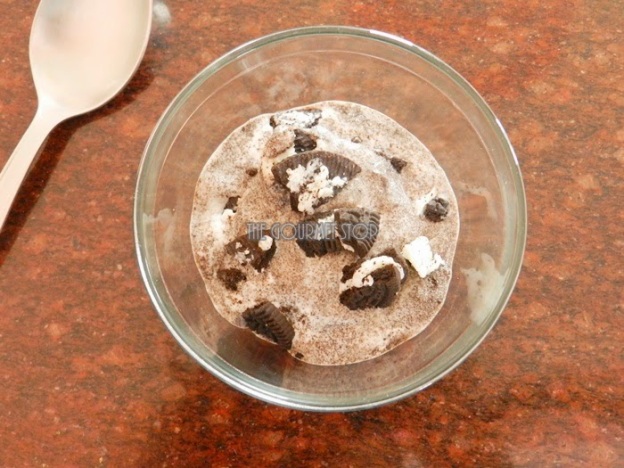
  1. In a bowl, add ice cream & keep it aside for a while till it softens. This will make it easier to work with ice cream.
  2. In a blending jar, crush 2 oreo biscuits you get crumbly texture. Approximately for 20 seconds.
  3. Roughly break/crush the remaining 1 biscuit with hands for some crunch in the ice cream.
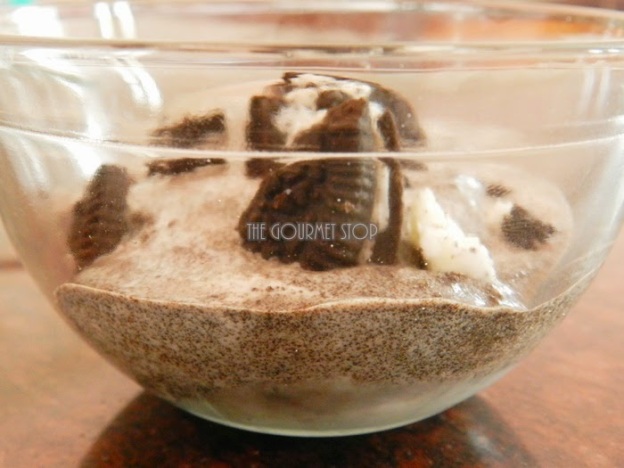
  4. Your ice cream should be soft by now. Add the oreo biscuits crumble to ice cream & mix it very well.
  5. Now add in the roughly broken oreo & mix. Keep it in refrigerator to set atleast for 30 mins.
  6. Garnish with some oreo biscuit pieces & enjoy!

Important Pointers:

  • Make a batch & store it in air tight container in your refrigerator. This can easily last for atleast 15 days.

If you want to see how I made McDonalds Oreo McFlurry at Home, then head over to video recipe by clicking this link:


Click “Print” or “PDF” button below if you want to save this recipe!

Sweet Lime Soda With a Twist of Ginger & Mint Recipe

Sweet Lime Soda With a Twist of Ginger & Mint Recipe

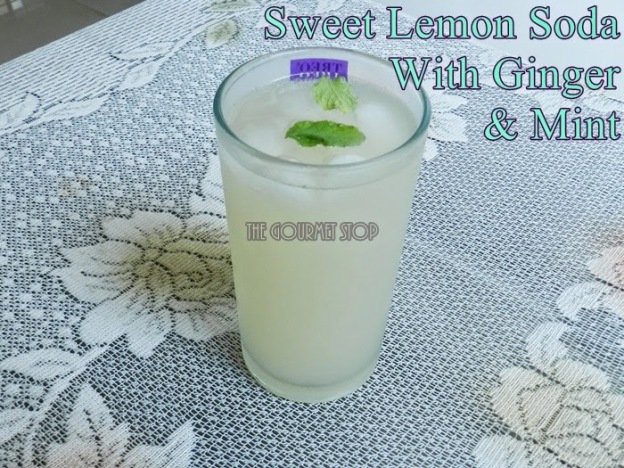
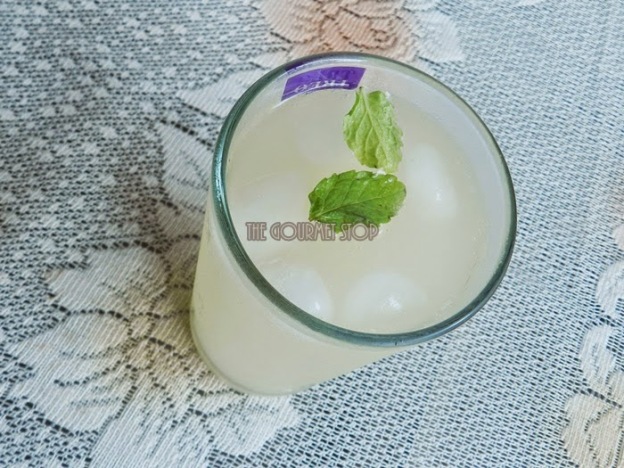
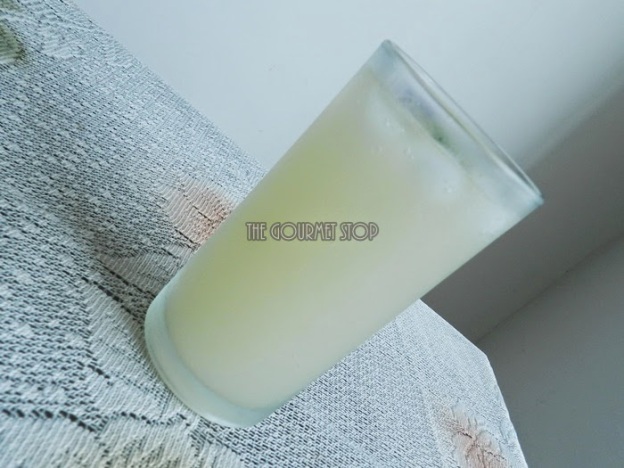
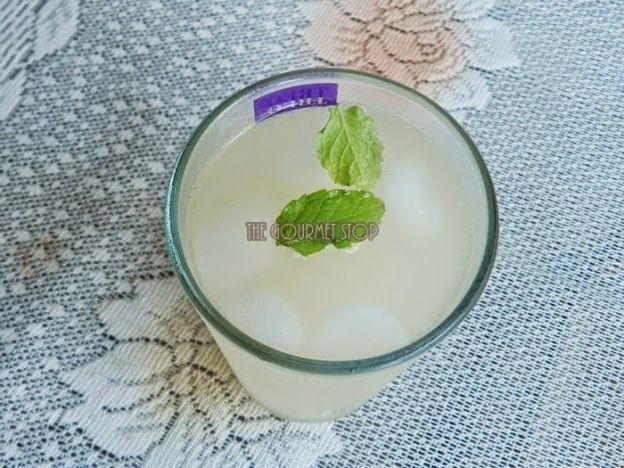
Delhi is very busy in breaking 62 years old summer time temperature records by hitting new high of 45-46-47 degrees almost everyday, forcing us to stay most of the time indoors & looking for ways to beat the heat! Well, as far as my attempts go I am trying to make recipes which help in maintaining our body temperature & keep us hydrated. Ginger Lemonade is being made almost every single day at my home but I wanted to spice up the recipe + tweak the ‘Sweet Lime Soda’ that you get in restaurants. So, I came up with this ‘Sweet Lime Soda With a Twist of Ginger & Mint’ to refresh & keep us going this summer!


Sweet Lime Soda With a Twist of Ginger & Mint Recipe

Click “Print” or “PDF” button below to save this recipe!

You will need:

1 Tbsp Grated Ginger
12-15 Mint Leaves
2 Tbsp Powdered Sugar
1 Tbsp Lemon Juice
300 ml Soda Water
Ice Cubes
Mint Leaves for garnish

Serving: Single

Steps to Make Sweet Lime Soda With a Twist of Ginger & Mint:

  1. In a large mixing bowl, add grated ginger, roughly chopped or torn with hands mint leaves, powdered sugar & ice cube.
  2. Using a muddler/whisker/madhani, extract juices from ginger & mint by mixing & pressing for 2-3 minutes.
  3. Allow it to sit for 2-3 minutes.
  4. Muddle again for few minutes till you see the juices coming out of ginger & mint.
  5. Using a strainer, strain the juice in a bowl, pressing the mixture with a spoon.
  6. Add lemon juice to strained extract.
  7. In a serving glass, pour the extract & add some ice cubes.
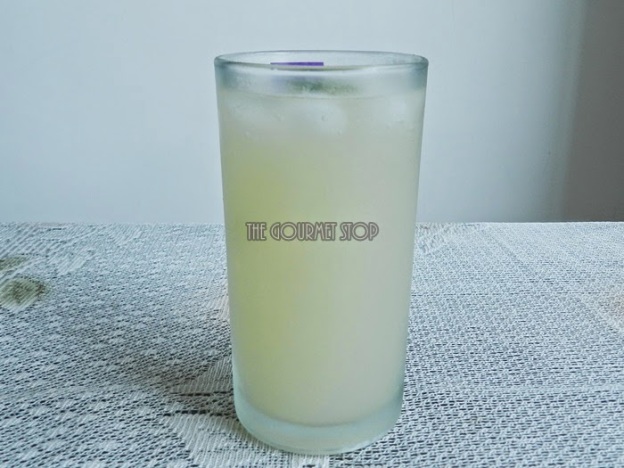
  8. Pour the soda water over the mixture.
  9. Give it a quick stir.
  10. Garnish with fresh mint leaves & serve.

Important Pointers:

  • Ice Cube helps in quick muddling & extracting of juices.
  • You can use granulated sugar too. I used powdered sugar because it is easy & quick to dissolve. You can even use sugar syrup.
  • Substitute sugar with honey, for more healthier version.

If you want to see how I made t Sweet Lime Soda With a Twist of Ginger & Mint, then head over to video recipe by clicking this link:


 Click “Print” or “PDF” button below to save this recipe!

Chocolate Mango Milkshake Recipe : Easy Summer Milkshake Recipe

Chocolate Mango Milkshake Recipe : Easy Summer Milkshake Recipe

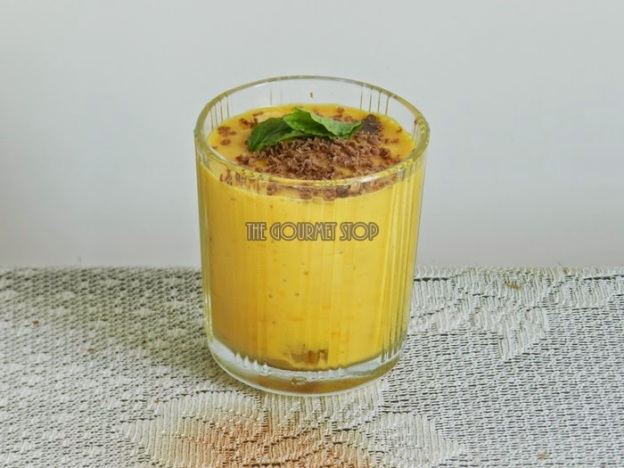
Summer time is equal to mango time in our home! We are some serious mango lovers and basically can have mangoes at anytime of the day & in any form. So, I decided to mix two of my favourite ingredients – chocolate & mangoes to create this amazing Milkshake. Chocolate + Mangoes = Yummy combination! It is again so easy to make & seriously delicious! If you choose ripe & sweet mangoes then probably you can skip the sugar completely! Plus the chocolate adds sweetness too!

Click “Print” or “PDF” button below to save this recipe!

Chocolate Mango Milkshake Recipe : Easy Summer Milkshake Recipe

You will need:

1 Cup Juicy ripe mango cut into pieces
400 ml Chilled Milk
2 Tbsp Powdered Sugar or as per taste
16 gm Milk Chocolate ( my choice Cadbury Dairy Milk)
Ice Cubes
Mint leaves & grated Chocolate for garnish

Steps to Make Chocolate Mango Milkshake:

1.       In a blending jar, add mango pieces, powdered sugar & chocolate pieces.
2.       Cover the lid & blend it for 20-30 seconds.
3.       Try to not blend the chocolate pieces a lot.
4.       Add Milk & churn for 20-30 seconds more.
5.       In a serving glass, add ice cubes & pour the Chocolate Mango Milkshake over the ice.
6.       Garnish with grated chocolate & mint leaf. 

Important Pointers:
·         You can use regular sugar if you don’t have powdered sugar.
·         I am using chocolate directly from the fridge, to avoid blending the chocolate completely. You would like to retain some pieces.

If you want to see how I made this Chocolate Mango Milkshake Recipe, then head over to video recipe by clicking this link:

Click “Print” or “PDF” button below if you want to save this recipe!
Basics 101: Green Coriander Chutney Recipe

Basics 101: Green Coriander Chutney Recipe

Let’s talk about something basic today, Green Chutney or Coriander Chutney. And keeping true to the motto of TGS – Easy & Tasty food, this recipe accompanies many many recipes! In my home, it is a ritual to make this Chutney twice a week, yes it is used that frequently! At all times Green Coriander Chutney is a must in my fridge. This Chutney is so versatile it can be served with Parathas, Theplas, various Snacks, in sandwiches & many more. Try it with Leftover Rice Stuffed Paratha Recipe & you will love the combo! I have another elaborated version of Green Coriander Chutney, which I will soon share here. I alternate between these two recipes, both tastes awesome.


Click “Print” or “PDF” button below to save this recipe!
You will need:

2 Tbsp Peanuts
1 Small Diced Onion
1 Lemon Juice
2-3 Green Chillies
1 Inch Piece Ginger
2 Cups Fresh Coriander Leaves
1/4 – 1/2 Cup Water
Salt to taste

Steps to Make Green Coriander Chutney: 

  1. In a grinding jar, start by adding peanuts onion and green chillies & blend them for 20-30 seconds.
  2.  Once grinded coarsely, add the fresh coriander leaves which is cleaned & washed properly. 
  3. Add seasoning (salt) to this mixture, followed by ginger pieces & lemon juice.  
  4. Finally some water to make smooth paste. Depending upon the quality of coriander & your grinder the water amount required will vary. Start by adding ¼ cup and add more water gradually as needed. 
  5. Grind this to a smooth paste and your Chutney is ready. 
  6. Store it in fridge, it easily lasts for a week.

Important Pointers:

  • You can increase the quantity of green chillies depending on the type your are using and how spicy you you’re Chutney to be. 
  • Ginger gives a nice fresh flavour to the Chutney.
  • Lemon juice helps in maintaining the vibrant green color of the chutney.
  • Coriander or cilantro is a wonderful source of dietary fiber, manganese, iron and magnesium as well. In addition, coriander leaves are rich in Vitamin C, Vitamin K and protein. They also contain small amounts of calcium, phosphorous, potassium, thiamin, niacin and carotene.
  • Coriander lowers bad cholesterol. It is very good for digestive system & good for diabetes patients as it lowers the sugar levels.

If you want to see how I made this Green Coriander Chutney, then head over to video recipe by clicking this link:


Click “Print” or “PDF” button below to save this recipe!

Homemade Rice Chips Recipe: Tea Time Munching Snack!

Homemade Rice Chips Recipe: Tea Time Munching Snack!

Homemade Rice Chips Recipe: Tea Time Munching Snack!


As a child, I always used to see my mom making chips of various kinds during summers & I used to lend her a helping hand. Face it, making chips from 20 kgs of potatoes wasn’t an easy thing. There was series of tasks involved – peeling, slicing, blanching, drying under the sun for many days. As a child it all seemed fun but when I grew up all this work seemed tedious and I told myself, “I will never make chips at home!” But on the contrary, here I am making/sharing Rice Chips Recipe. When I learnt about this recipe from a relative, I was intrigued to try. It is such an easy recipe with fewer ingredients; I knew I had to make this. I am so glad I made it all by myself and it turned out really really good, despite being my first attempt. I am already thinking of ways to innovate this recipe and create different variations. But more on that later.


Homemade Rice Chips Recipe: Tea Time Munching Snack!

Click “Print” or “PDF” button below to save this recipe!

You will need:

1 Cup Small Grain Rice
2.5 Cups Water
1 Tsp Cumin Seeds
1 Tsp Sesame Seeds
2 Tsp Green Chillies Paste
Oil for deep frying
Chat Masala for sprinkling/garnish
Salt to taste

Homemade Rice Chips Recipe: Tea Time Munching Snack!
The Mould

Steps to Make Rice Chips At Home:  

  1. First & foremost, wash & soak rice atleast for 8 hours, I prefer soaking it overnight.
  2. Next, in a pressure cooker, add all the ingredients – rice, water, green chillies paste, cumin & sesame seeds & pressure cook for 3 -4 whistles. 
Homemade Rice Chips Recipe: Tea Time Munching Snack!
Cooked Mixture

 3. Once the pressure cools down, allow it come to room temperature. 
4. Assemble the ‘Sev/Chakri Mould’, use the Chakri making plate. 
5. Fill up the mould with the rice mixture, screw the lid and make chips on a cloth. Do not worry about the shape& size. 

Homemade Rice Chips Recipe: Tea Time Munching Snack!
Filling the Mould with mixture

6.  Once you are done, it should look like this.

Homemade Rice Chips Recipe: Tea Time Munching Snack!
Chips drying on cloth under the sun

7. You should do the process of making chips on the cloth under the sun itself – on a terrace or a balcony. 
8. Allow it dry under the sun for a day. 
9. If you feel there is still some moisture content in the chips, then keep it under the sun for another day. My chips took 2 days to completely dry. 

Homemade Rice Chips Recipe: Tea Time Munching Snack!
After 2 days under the sun!

10. Once these chips are sun-dried, store it away in an air-tight container & fry as needed. It can be stored for months. 

Homemade Rice Chips Recipe: Tea Time Munching Snack!
Dried Rice Chips

11. Fry the chips & sprinkle some chat masala after frying. Munch on it anytime!

Homemade Rice Chips Recipe: Tea Time Munching Snack!
Mouth watering chips ready to eat 🙂

Important Pointers:

  • I am using small grain rice because it is economical when you plan to make large quantities. If you do not have small grain use the long grain rice (basmati).
  • What we are looking for is lumpy consistency of cooked rice, if you feel the rice seems separated after cooking, add in more water and cook it for another 1-2 whistles. You can never overdo the rice for this recipe. 
  • Please do not make the chips on tissue or paper, in my experience it sticks badly and doesn’t come off after drying.

If you want to see how I made this Rice Chips, then head over to video recipe by clicking this link:


Food Trivia: Homemade Rice Chips are better alternative to those packet chips you get in the market. With all those preservatives, spices etc they use to make it, these Rice Chips are a much healthier options.

Cheat Tricks: If you do not want to pile on calories by deep frying it, cook them in microwave – on high power for about 20-30 seconds. It tastes yummy too!

P.S – If you have never used the ‘Sev Mould’ before it can pain you while using it, use a muscular helping hand like your husband 😉

Click “Print” or “PDF” button below if you want to save this recipe!