Category Archives: Desserts

How to Make McDonalds Oreo McFlurry at Home

How to Make McDonalds Oreo McFlurry at Home

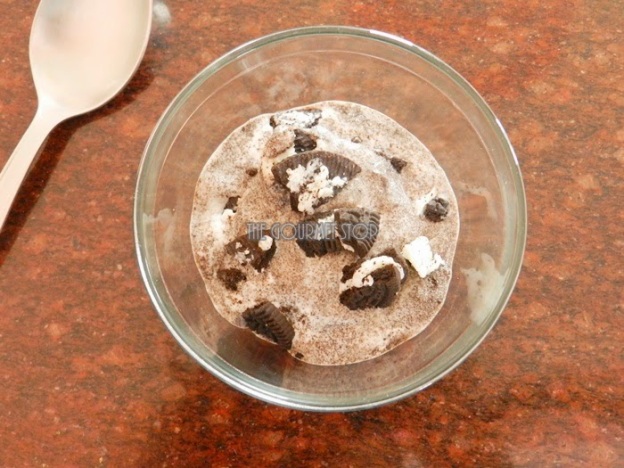
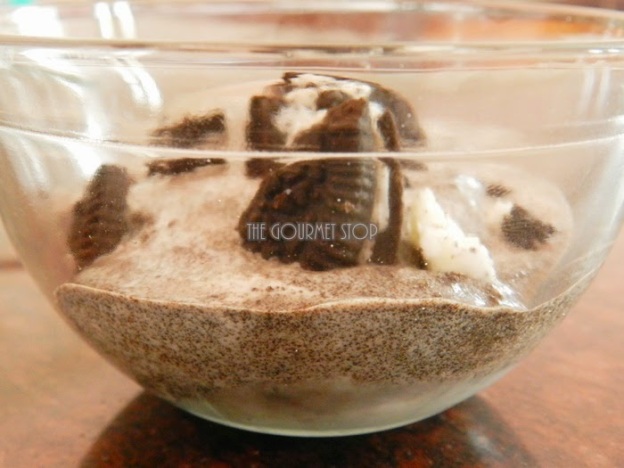
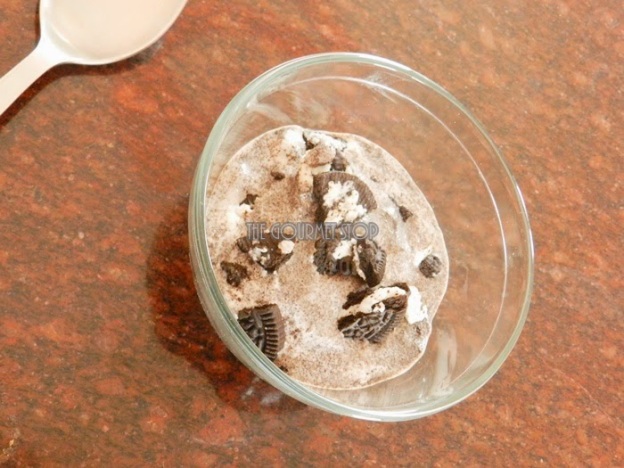
I don’t remember how many times I have had McDonald’s Oreo McFlurry till now! Whenever we, passed a McDonald’s counter in a mall, we always had to have some dessert because they are yummy! You can have it on the go, they are priced relatively cheaper & I kind of liked their innovative ideas they bring forth every few months in their menu. So, while enjoying the famous Oreo McFlurry it occurred to me, “hey I can make this at home”! It seems so simple & with just two trials, I made my very own version of McDonald’s Oreo McFlurry. When I added some cream to this recipe, I found it to be quite heavy & honestly my stomach never felt heavy whenever I ate it at McDonalds. So, I am totally skipping the cream plus you have an advantage of choosing low fat ice cream if you are health conscious & still want to indulge in this sweet treat once in a while.


How to Make McDonalds Oreo McFlurry at Home


Click “Print” or “PDF” button below to save this recipe

You will need:

Single Serve Cup Vanilla Ice Cream (75 ml) low or full fat
3 Oreo Biscuits

Serving: Single

Steps to Make MacDonalds Oreo McFlurry At Home:

  1. In a bowl, add ice cream & keep it aside for a while till it softens. This will make it easier to work with ice cream.
  2. In a blending jar, crush 2 oreo biscuits you get crumbly texture. Approximately for 20 seconds.
  3. Roughly break/crush the remaining 1 biscuit with hands for some crunch in the ice cream.
  4. Your ice cream should be soft by now. Add the oreo biscuits crumble to ice cream & mix it very well.
  5. Now add in the roughly broken oreo & mix. Keep it in refrigerator to set atleast for 30 mins.
  6. Garnish with some oreo biscuit pieces & enjoy!

Important Pointers:

  • Make a batch & store it in air tight container in your refrigerator. This can easily last for atleast 15 days.

If you want to see how I made McDonalds Oreo McFlurry at Home, then head over to video recipe by clicking this link:


Click “Print” or “PDF” button below if you want to save this recipe!

Chocolate Mango Milkshake Recipe : Easy Summer Milkshake Recipe

Chocolate Mango Milkshake Recipe : Easy Summer Milkshake Recipe

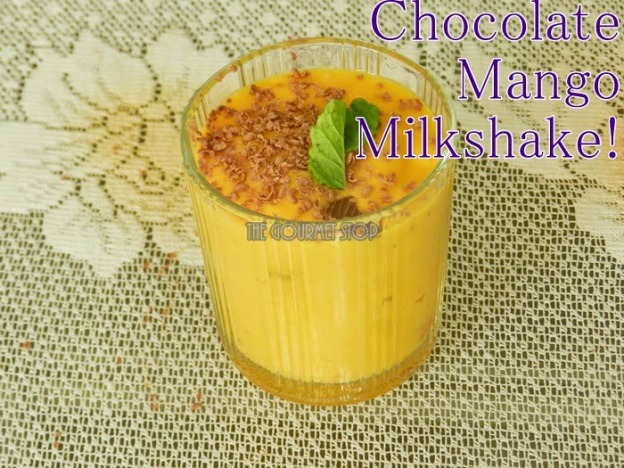
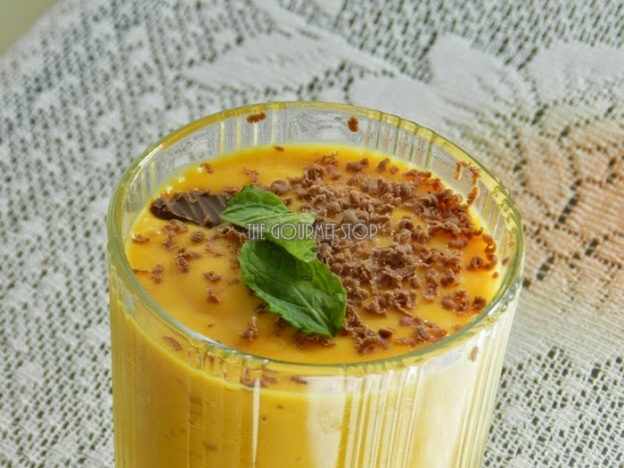
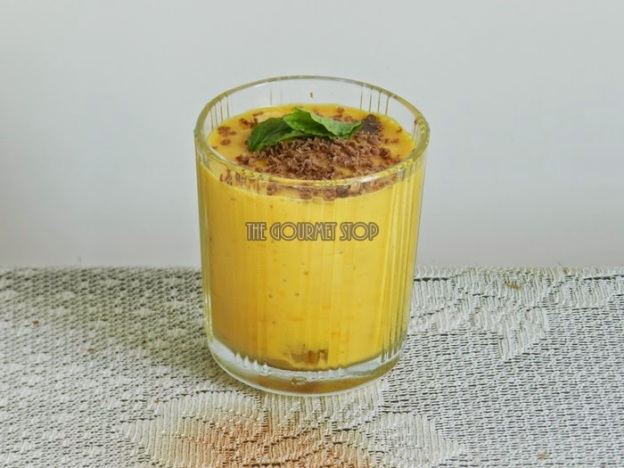
Summer time is equal to mango time in our home! We are some serious mango lovers and basically can have mangoes at anytime of the day & in any form. So, I decided to mix two of my favourite ingredients – chocolate & mangoes to create this amazing Milkshake. Chocolate + Mangoes = Yummy combination! It is again so easy to make & seriously delicious! If you choose ripe & sweet mangoes then probably you can skip the sugar completely! Plus the chocolate adds sweetness too!

Click “Print” or “PDF” button below to save this recipe!

Chocolate Mango Milkshake Recipe : Easy Summer Milkshake Recipe

You will need:

1 Cup Juicy ripe mango cut into pieces
400 ml Chilled Milk
2 Tbsp Powdered Sugar or as per taste
16 gm Milk Chocolate ( my choice Cadbury Dairy Milk)
Ice Cubes
Mint leaves & grated Chocolate for garnish

Steps to Make Chocolate Mango Milkshake:

1.       In a blending jar, add mango pieces, powdered sugar & chocolate pieces.
2.       Cover the lid & blend it for 20-30 seconds.
3.       Try to not blend the chocolate pieces a lot.
4.       Add Milk & churn for 20-30 seconds more.
5.       In a serving glass, add ice cubes & pour the Chocolate Mango Milkshake over the ice.
6.       Garnish with grated chocolate & mint leaf. 

Important Pointers:
·         You can use regular sugar if you don’t have powdered sugar.
·         I am using chocolate directly from the fridge, to avoid blending the chocolate completely. You would like to retain some pieces.

If you want to see how I made this Chocolate Mango Milkshake Recipe, then head over to video recipe by clicking this link:

Click “Print” or “PDF” button below if you want to save this recipe!

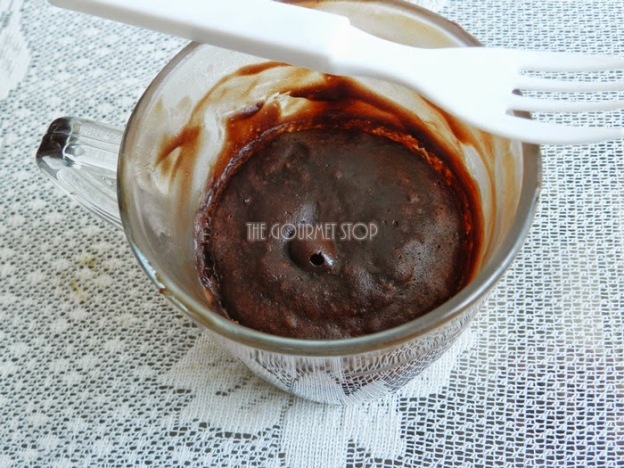
2 Minute Brownie In a Mug Recipe: Dense & Fudgy Brownie Recipe!

2 Minute Brownie In a Mug Recipe: Dense & Fudgy Brownie Recipe!

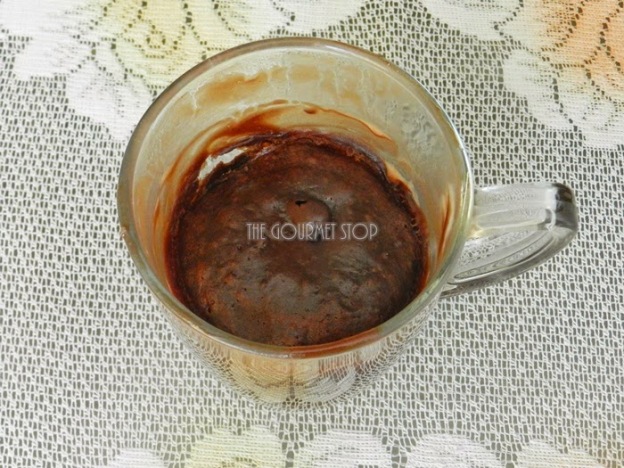
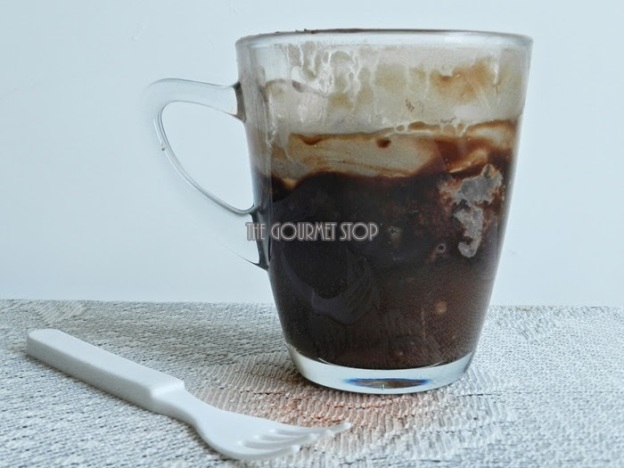
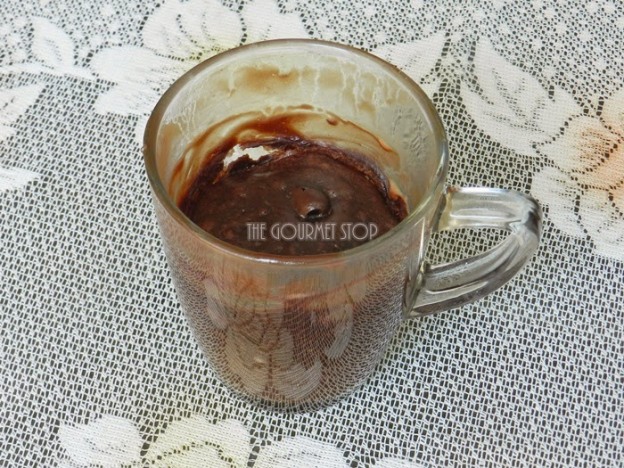
At times, when I am not really in my ‘being happy mode’ for various reasons – politics, corruption, a stupid fight with husband etc, I turn to food for comfort. And at those emotional times, this 2 Minute Mug Brownie is perfect for indulgence! Well, of course, you don’t necessarily need to be emotionally upset over things to have this dense chocolate brownie; you can have it at happier times too! It is so easy & quick to make, you literally just through in few ingredients from your pantry – no fancy big list! Promise! To make it fudgier, my secret ingredient is ‘Dairy Milk Chocolate’! It takes this simple brownie to next level of yumminess!!

2 Minute Brownie In a Mug Recipe: Dense & Fudgy Brownie Recipe!


Click “Print” or “PDF” button below if you want to save this recipe!

Things you will need:

4 Tbsp Refined Flour/Maida
2 Tbsp Unsweetened Cocoa Powder
4 Tbsp Powdered Sugar
2 Tbsp Oil/Butter
4 Tbsp + 2 Tbsp Milk (or as required)
1-2 Drops Vanilla Essence (optional)
15gm Milk Chocolate (I used Dairy Milk)

Serving: Single

Steps to Make Authentic Punjabi Sweet Lassi:

1.       In a microwave safe mug, add Dairy Milk chocolate. You can use any milk chocolate that is handy.
2.       Microwave this for 10 seconds, if using from the fridge directly. Just to make it easier to work with.
3.       Once out of microwave, with the help of a spoon, mix it well.
4.       Now add in dry ingredients – Flour/Maida, Cocoa Powder, Powdered sugar.
5.       Wet Ingredients – Oil &Milk
6.       Mix everything really well making sure there no lumps.
7.       At this point you might need to add a little bit more milk depending upon the consistency you achieve after mixing. If you feel it’s too dry add in 1-2 Tbsp more milk.  
8.       Few drops of vanilla essence (optional). Give it a final mix.
9.       Microwave it on high power for 1 minute for Dense Chocolate-y Brownie
10.   Serve with a dollop of Ice Cream if you have any!

Important Pointers:

·         Never use Olive Oil, it has a prominent smell to it & you do not want that over powering the chocolate fragrance.
·         If you using Dairy Milk at room temperature, you can skip the melting step in microwave for 10 seconds.
·         If melting the chocolate in microwave, make sure you do not overdo it, as milk chocolate can burn quickly.
·         For even more chocolate flavour, you can use sweet dark chocolate instead of milk one.
·         For dense & fudge-y brownie do not overcook the mixture. Keep an eye on it as it can turn into a cake in seconds.
·         If you like your brownies to be more cake-like texture then cook it for 1.5 -2 minutes on high power.

2 Minute Brownie In a Mug Recipe: Dense & Fudgy Brownie Recipe!

2 Minute Brownie In a Mug Recipe: Dense & Fudgy Brownie Recipe!

If you want to see how I made this Mug Brownie, then head over to video recipe by clicking this link:


Click “Print” or “PDF” button below if you want to save this recipe!

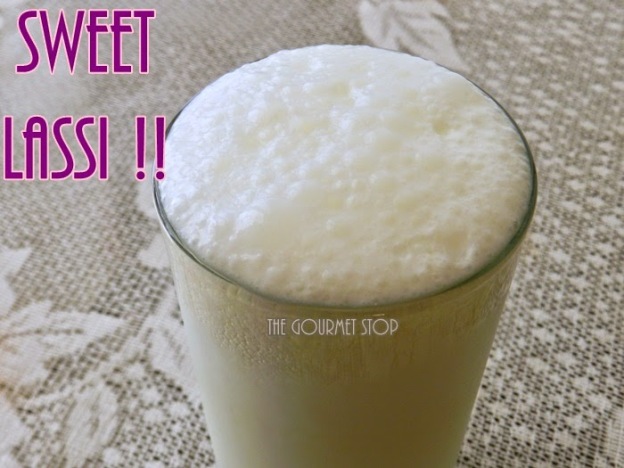
Traditional Punjabi Sweet Lassi Recipe: Indian Yoghurt Smoothie Recipe!

Authentic Punjabi Sweet Lassi Recipe: Indian Yoghurt Smoothie Recipe!
Traditional Punjabi Sweet Lassi Recipe: Indian Yoghurt Smoothie Recipe! 

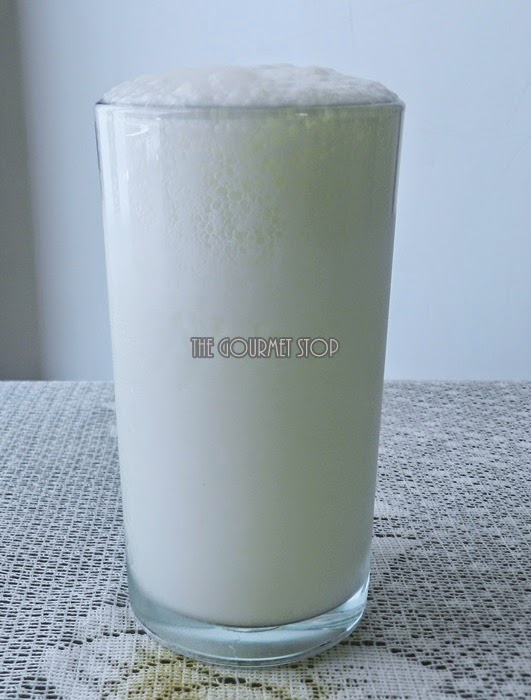
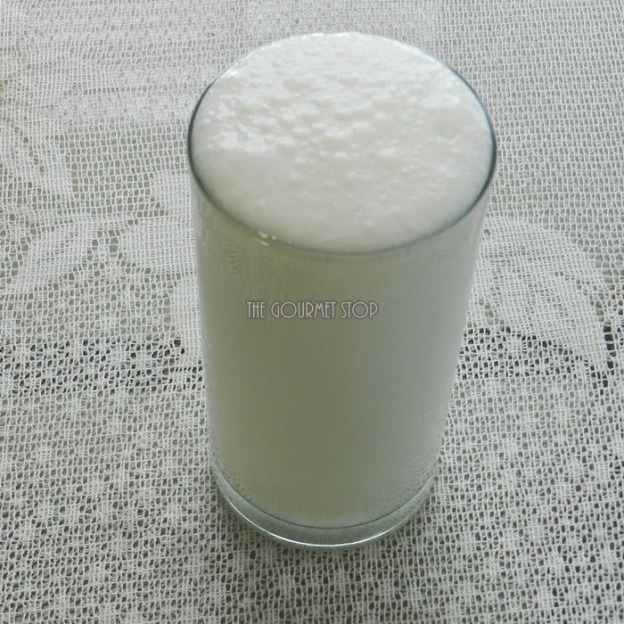
When I visited my Aunt in Punjab sometime ago, she made this amazing Sweet Lassi for us! It was sooooo delicious that it left us licking our lips after every sip! Not to mention it was kind of heavy for our appetite & when it is served in tall brass glass, you can easily skip a meal. I had to get this recipe & wanted her tips & tricks to make that perfect glass of Sweet Lassi to beat the heat this summer!

My aunt began by telling me that even with all the new age gadgets available in kitchen, she prefers making it traditional way – with a Wooden Churner or Madhani! She says no blender can beat the taste of Lassi made with Madhani & I totally have to agree with her on this! If you use a Madhani, then you can in no way over beat/muddle the curd whereas with a blender in a matter of seconds curd can turn into butter, spoiling the Lassi! She also did mention that always use fresh curd made from full fat milk for creamier Lassi. Fresh curd has slight sweetness to it & you can cheat on by adding less sugar. And of course, in Punjab they have to add a dollop of butter or cream on Lassi but I am totally gonna skip it!! Watching those extra calories 😉 Trust me it’s still going to taste super delicious!
Authentic Punjabi Sweet Lassi Recipe: Indian Yoghurt Smoothie Recipe!

Authentic Punjabi Sweet Lassi Recipe: Indian Yoghurt Smoothie Recipe!
Click “Print” or “PDF” button below to save this recipe!

You will need:

1/2 Cup Full Fat Milk Curd (Fresh)
3 Tbsp Powdered Sugar or as required
1/2 Cup Chilled Water
4-5 Ice Cubes

Serving: 1 Glass

Steps to Make Authentic Punjabi Sweet Lassi:

1.       In a deep vessel, add curd & churn it with a Wooden Churner/Madhani or even a Muddler until it’s smooth & lumps free. It should take about 1-2 minutes.
2.       Add in powdered sugar & muddle for another 1-2 minutes.
3.       Once sugar is dissolved, add chilled water.
4.       Churn for another 1-2 minutes to get that froth! The more you churn, frothier Lassi will become. But make sure you do not overdo it.
5.       Pop in some Ice Cubes & serve chilled!

Important Pointers:

·         If you don’t have the wooden churner, just add everything in a blender & blend for 1-2 minutes maximum. Do not overbeat it or else curd will turn into butter.
·         We are using powdered sugar because it takes less time to dissolve.
·         Always use fresh curd to make Lassi.
·         Using chilled water will make the frothing process faster.

If you want to see how I made this Punjabi Sweet Lassi, then head over to video recipe by clicking this link:


Click “Print” or “PDF” button below to save this recipe!

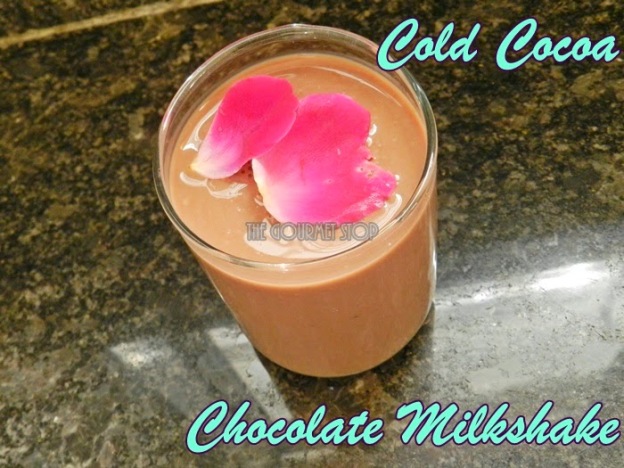
Cold Cocoa Recipe: Chocolate Milk Shake Recipe

Cold Cocoa Recipe: Chocolate Milk Shake Recipe

Cold Cocoa Recipe: Chocolate Milk Shake Recipe


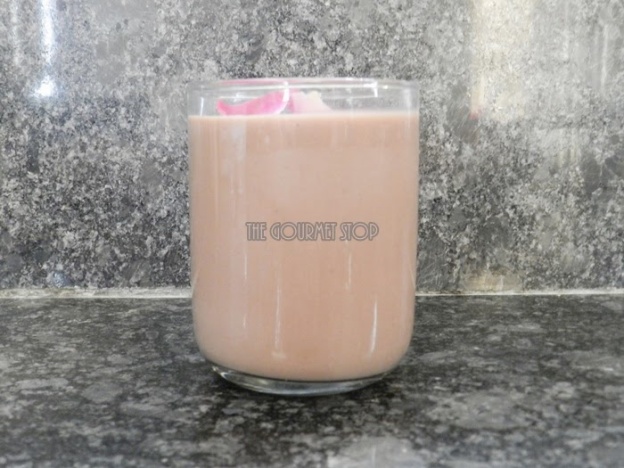
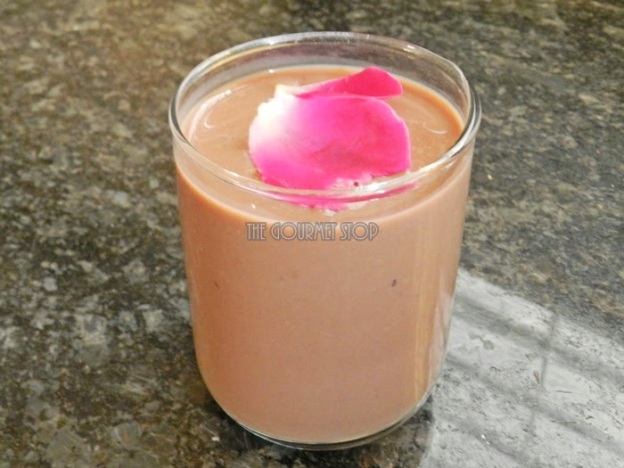
Cold Cocoa has been my favourite since school days & I love it so much that felt the need to replicate it! After so many trials & errors, I finally discovered the perfect recipe, after all our motto at TGS is ‘Make At Home’! J  Cold Cocoa when made following this recipe tastes fantastic! I am kind of proud to say that it tastes even better than outside! You must give it a try if you loooove chocolate flavour drinks. It’s so quick, simple & economical too! 


Cold Cocoa Recipe: Chocolate Cocoa Milk Shake
Click “Print” or “PDF” button below to save this recipe!

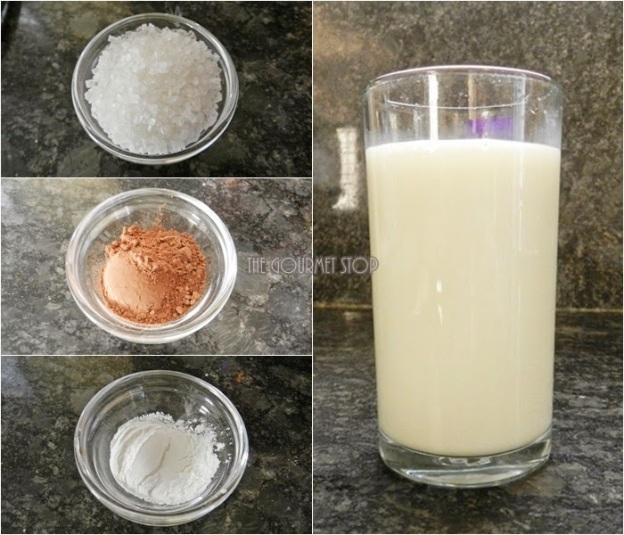
You will need:

500ml + 2 Tbsp Milk
4 Tbsp Sugar
5 Tsp Cocoa Powder
2 Tsp Cornflour
Rose Petals for garnish (optional)

Serving: 2 Glasses
Steps to Make Cold Cocoa:

1.      Begin by mixing 2 Tbsp Milk+ Cocoa Powder + Cornflour well in a bowl. Take your time and make sure there are no lumps.
2.      In a separate sauce pan or any deep pan, heat milk and add sugar to it. Mix occasionally to ensure milk doesn’t stick to the bottom of the pan.
3.      Once it comes to a boil, add in the cocoa powder, cornflour & milk mixture prepared earlier.
4.      Stir this continuously making sure there are no lumps.
5.      Because of the cornflour the milk will start to thicken, keep it on medium to low flame for about a minute. After that turn of the gas & let it cool on room temperature.
6.      Once cooled to room temperature, sieve this mixture to make sure there are no lumps remaining at all.
7.      Keep it in the refrigerator for atleast 6 hours.
8.       Garnish with nuts or rose petals. Serve chilled.

Cheat Tricks: If you are a health conscious & want to indulge in this yummy drink guilt free then replace full fat milk with low fat or skimmed milk. I wouldn’t suggest altering sugar or any other ingredient ratio as it won’t taste as good as this. Believe me I have tried & it wasn’t good.

If you want to see how I made this Cold Cocoa Recipe, then head over to video recipe by clicking this link:


Click “Print” or “PDF” button below to save this recipe!

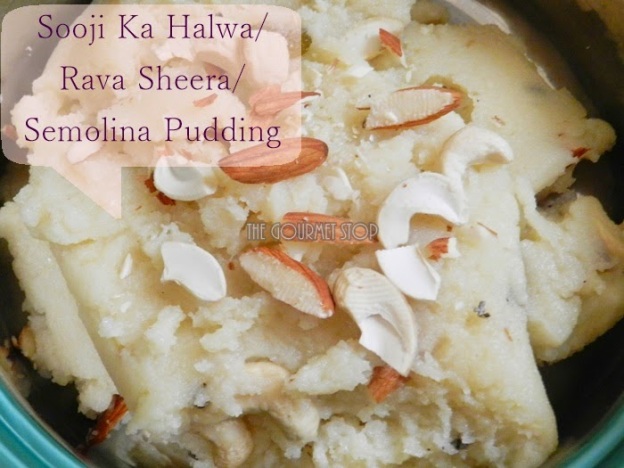
Sooji Ka Halwa – Rava Sheera Recipe – Little Less Calories Version!

Sooji Ka Halwa - Rava Sheera Recipe - Little Less Calories Version!

Sooji Ka Halwa – Rava Sheera Recipe – Little Less Calories Version!

Sooji Ka Halwa or also known as Rava Sheera or Semolina Pudding is a very common sweet dish served across India. Sooji Ka Halwa is generally prepared in many households for poojas & ceremonies. Generally accompanied with savory Chole Puri or Aloo Puri, it is one delicious & simple recipe to cook. Though the ratio of sooji (semolina), sugar & ghee (clarified butter) are used in equal proportion, I have tweaked the recipe to bring the calories count down a bit.

Sooji Ka Halwa - Rava Sheera Recipe - Little Less Calories Version!

Click “Print” or “PDF” button below to save this recipe!

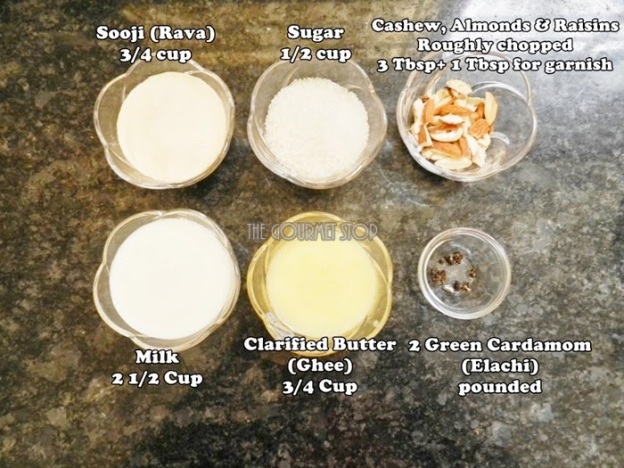
You will need:

3/4 Cup Rava/Sooji/Semolina (use the fine variety of rava)
1/2 Cup Sugar (original recipe says 3/4 Cup)
3/4 Cup Ghee/Clarified Butter
2 ½ Cup Milk (Full fat or low fat as you prefer)
3 Tbsp + 1 Tbsp Roughly chopped Cashewnuts, Almonds & Raisins
2 Green Cardamom/Elachi pounded

Serving: 2-3 persons

Steps to Make Sooji Ka Halwa:  

  1. In a deep pan, begin by mixing sooji & ghee. 
  2. Turn on the gas on low flame & let it cook till ghee separates from sooji. 
  3. Keep stirring frequently or continuously to make sure sooji doesn’t burn. It will take about 6-7 minutes. 
  4. Once the ghee separates, let it cook till sooji turns slightly pink in color. 
  5. Once it reaches the desired color, add milk & keep on stirring it continuously. Make sure there are no lumps. 
  6. When sooji absorbs the entire milk & the mixtures leaves the pan sides, its time to add the sugar. 
  7. And when sugar completely dissolves in the mixture, add green cardamom, dryfruits.
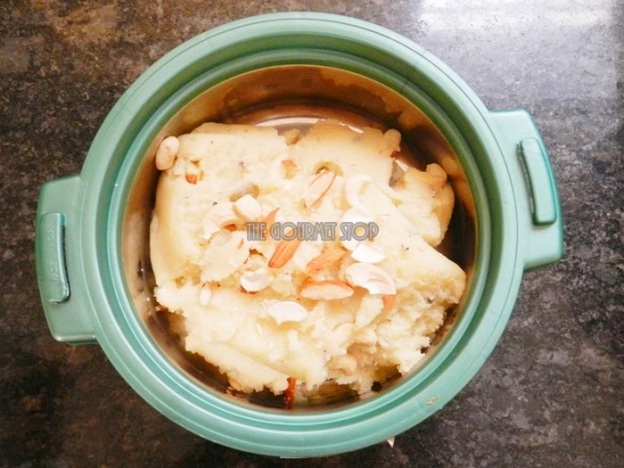
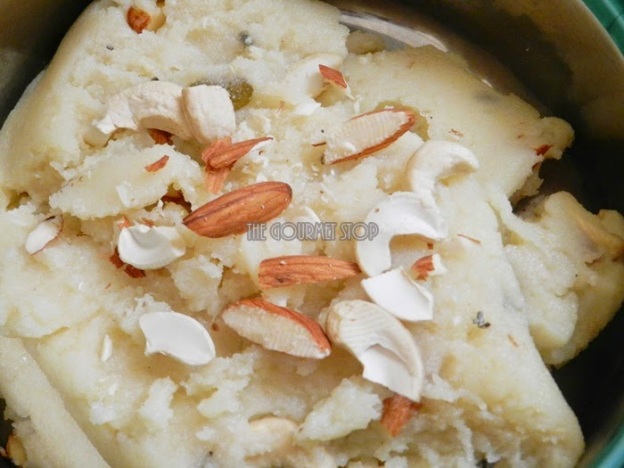
  8. Turn off the gas & garnish it with few more nuts.

Important Pointers: 

  • Many people prefer their halwa to be a little dark but I prefer it whitish in color. If you want  pinkish brown color then continue cooking for few more minutes at Step 3.
  • I have added only ½ Cup sugar as opposed to ¾ Cup but you can add more if you like your halwa to be sweet.
Sooji Ka Halwa - Rava Sheera Recipe - Little Less Calories Version!

If you want to see how I made this Sooji Ka Halwa, then head over to video recipe by clicking this link:


Click “Print” or “PDF” button below if you want to save this recipe!