Category Archives: Basics 101

Tip of the Week: Vol 2: How to Make Green Chillies & Ginger Paste Last Longer in Refrigerator!

Tip of the Week: Vol 2: How to Make Green Chillies & Ginger Paste Last Longer in Refrigerator!

Back to Basics again today! I don’t know about you but I just can’t cook Indian recipes without having Green Chillies & Ginger paste in my refrigerator. I basically use this paste for almost all of my dishes! But grinding it fresh every time, takes up my time especially in the morning when I am packing lunch boxes & doing million things. So, I prefer making a batch & storing it in my fridge but the problem is the paste catches fungus in about 4-5 days and I have to discard it. So, when I told my mom how ‘n’th time I had to throw away the paste, she shared her secret of How to make Green Chilli & Ginger Paste last longer in fridge with me! I tell you moms knows a lot of cooking tips, you just need to be after them to get the secrets out 🙂

Tip of the Week: Vol 2: How to Make Green Chillies & Ginger Paste Last Longer in Refrigerator!

Click “Print” or “PDF” button below to save this recipe!

You will need:

1 Cup Green Chillies
1 Inch Ginger piece
1/8 Tsp Turmeric Powder
½ – 1 Tsp Salt or to taste
1-2 Tbsp Warm Oil
Water as required

Steps to Make Green Chillies & Ginger Paste Last Longer in Refrigerator:

  1. In a mixer grinder jar, add green chillies which are pre- washed & remove their tails & heads.
  2. Add ginger piece.
  3. Add turmeric powder which will keep the paste vibrant looking & green for long time.
  4. Add oil. It is the main ingredient which makes the paste last longer without catching fungus. Use a little warm oil.
  5. Cover the lid & grind it to a smooth paste. If you still see some fibres add little bit of water & grind again.
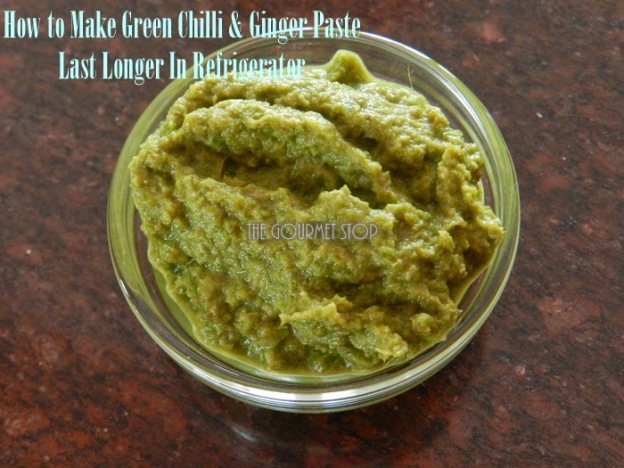
  6. After grinding it to a smooth paste, transfer it to an air tight container. It will last in refrigerator easily for 15 days & in freezer for 25-30 days.

If you want to see how I made this Green Chillies & Ginger Paste, then head over to video recipe by clicking this link:

Click “Print” or “PDF” button below if you want to save this recipe!


Basics 101: How to Sprout Beans!

Basics 101: How to Sprout Beans!

Basics 101: How to Sprout Beans!

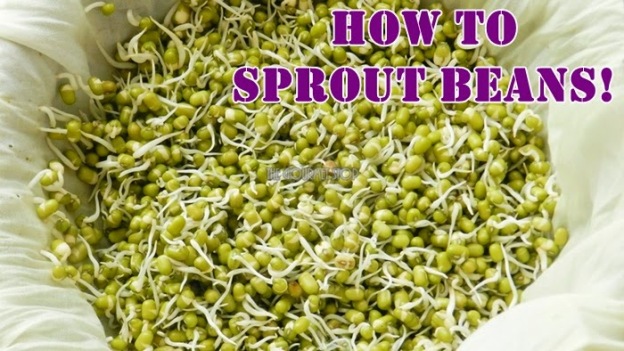
Let’s talk about some basics today, sprouts! You can sprout any form of beans & pulses, they have high nutritional value and protein rich. Sprouting Green Gram (Moong) is the most easy of all. So, let’s begin! We are sprouting 1 Cup of Moong & the final result will be almost double the quantity of sprouts.

Click “Print” or “PDF” button below if you want to save this recipe!


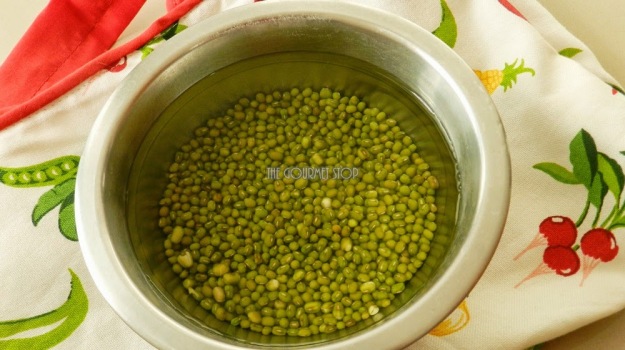
Wash your beans really well, make sure there is no dirt & soak it in 3 times water for about 8 hours or overnight.

Basics 101: How to Sprout Beans!


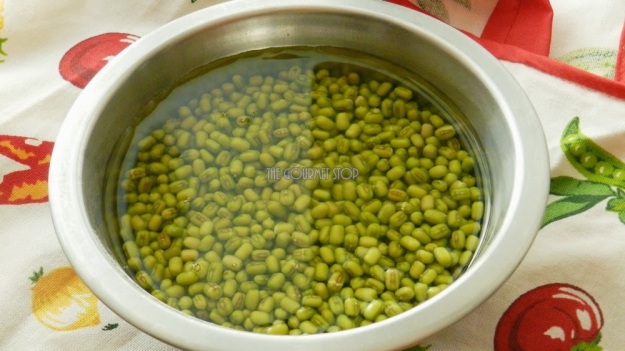
This is how it will look after soaking.

Basics 101: How to Sprout Beans!

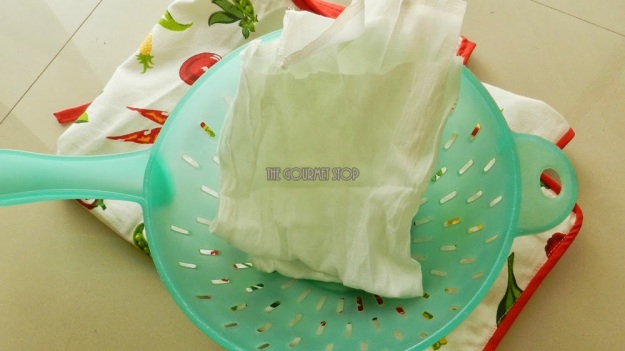
For next step you need to strain the water from the beans and dampen a muslin cloth or any kind of thin cloth.

Basics 101: How to Sprout Beans!


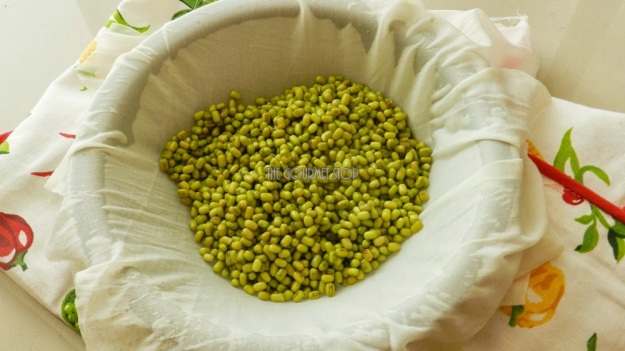
Use a stainless steel bowl or any vessel which is not transparent. Sprouting process takes place best in dark environment. Spread the damp cloth over the bowl & place the beans inside.

Basics 101: How to Sprout Beans!


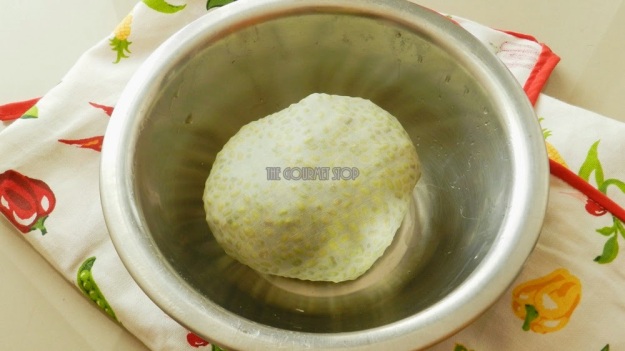
Make a potli or fold it well & keep it upside down.

Basics 101: How to Sprout Beans!


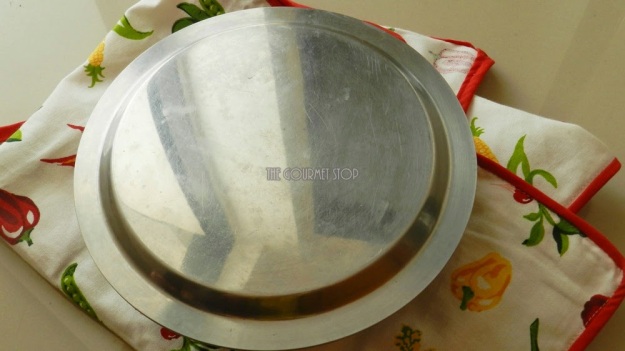
Cover with a lid, again it should be opaque. Put this bowl in a closed cabinet or turned off oven, anywhere where there is no direct light for a day atleast.

Basics 101: How to Sprout Beans!


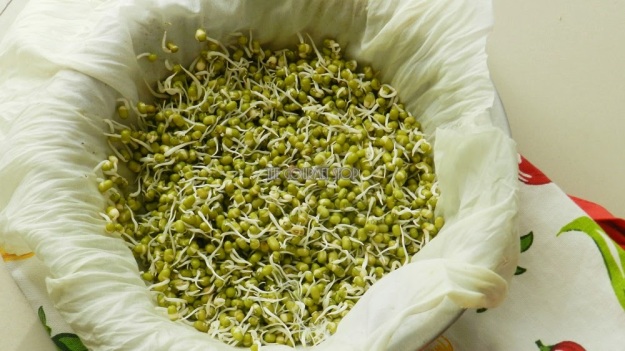
When you will check next day, your sprouts will be ready. If you feel the beans had not sprouted enough you can keep it back in dark place for another few hours or even a day.

Basics 101: How to Sprout Beans!


If you want to see how I Sprout Beans, then head over to video recipe by clicking this link:

Click “Print” or “PDF” button below if you want to save this recipe!

Basics 101: Green Coriander Chutney Recipe

Basics 101: Green Coriander Chutney Recipe

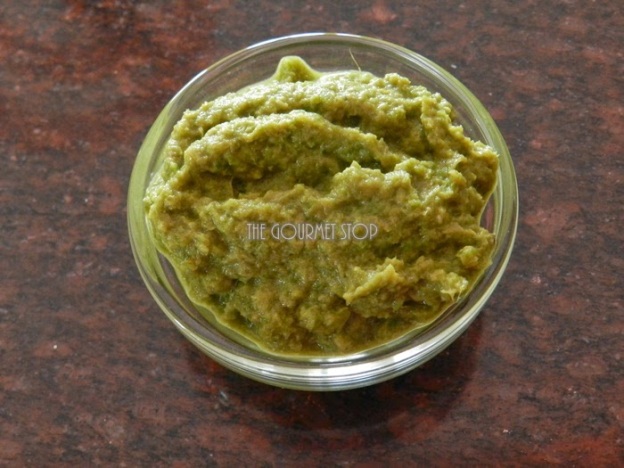
Let’s talk about something basic today, Green Chutney or Coriander Chutney. And keeping true to the motto of TGS – Easy & Tasty food, this recipe accompanies many many recipes! In my home, it is a ritual to make this Chutney twice a week, yes it is used that frequently! At all times Green Coriander Chutney is a must in my fridge. This Chutney is so versatile it can be served with Parathas, Theplas, various Snacks, in sandwiches & many more. Try it with Leftover Rice Stuffed Paratha Recipe & you will love the combo! I have another elaborated version of Green Coriander Chutney, which I will soon share here. I alternate between these two recipes, both tastes awesome.


Click “Print” or “PDF” button below to save this recipe!
You will need:

2 Tbsp Peanuts
1 Small Diced Onion
1 Lemon Juice
2-3 Green Chillies
1 Inch Piece Ginger
2 Cups Fresh Coriander Leaves
1/4 – 1/2 Cup Water
Salt to taste

Steps to Make Green Coriander Chutney: 

  1. In a grinding jar, start by adding peanuts onion and green chillies & blend them for 20-30 seconds.
  2.  Once grinded coarsely, add the fresh coriander leaves which is cleaned & washed properly. 
  3. Add seasoning (salt) to this mixture, followed by ginger pieces & lemon juice.  
  4. Finally some water to make smooth paste. Depending upon the quality of coriander & your grinder the water amount required will vary. Start by adding ¼ cup and add more water gradually as needed. 
  5. Grind this to a smooth paste and your Chutney is ready. 
  6. Store it in fridge, it easily lasts for a week.

Important Pointers:

  • You can increase the quantity of green chillies depending on the type your are using and how spicy you you’re Chutney to be. 
  • Ginger gives a nice fresh flavour to the Chutney.
  • Lemon juice helps in maintaining the vibrant green color of the chutney.
  • Coriander or cilantro is a wonderful source of dietary fiber, manganese, iron and magnesium as well. In addition, coriander leaves are rich in Vitamin C, Vitamin K and protein. They also contain small amounts of calcium, phosphorous, potassium, thiamin, niacin and carotene.
  • Coriander lowers bad cholesterol. It is very good for digestive system & good for diabetes patients as it lowers the sugar levels.

If you want to see how I made this Green Coriander Chutney, then head over to video recipe by clicking this link:
Click “Print” or “PDF” button below to save this recipe!