Monthly Archives: July 2014

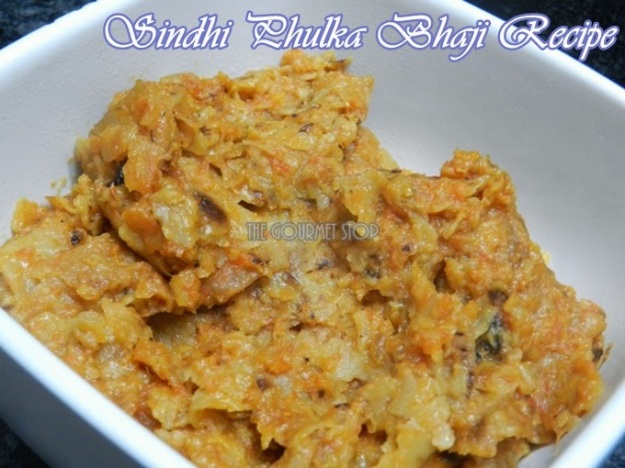
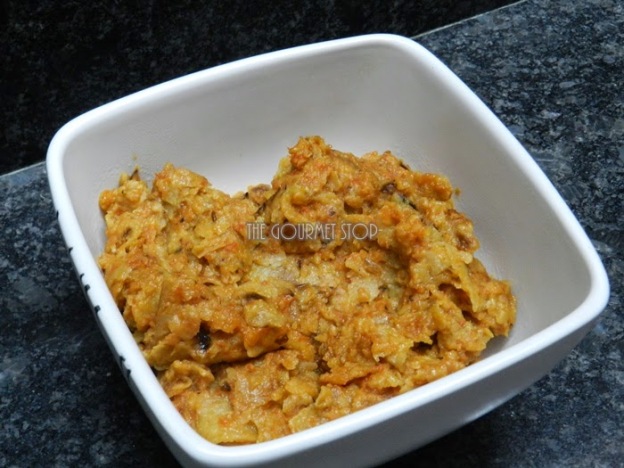
Sindhi Phulka Bhaji Recipe: One Meal Indian Recipe!

Sindhi Phulka Bhaji Recipe: One Meal Indian Recipe!

Sindhi Phulka Bhaji Recipe: One Meal Indian Recipe!

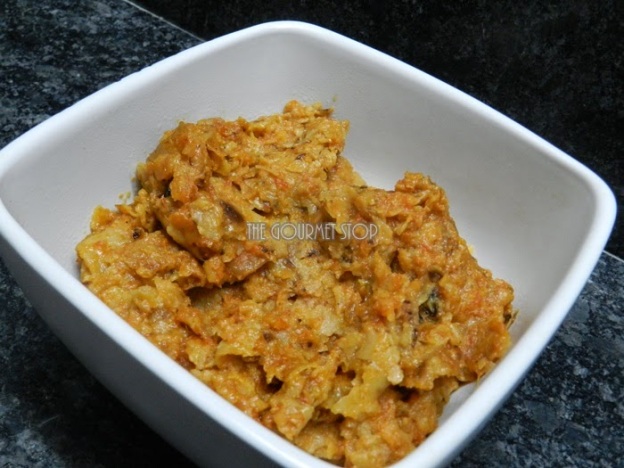
If you like me, end up with leftover rotis every other day, then this recipe is perfect for you – Sindhi Phulka Bhaji! It gives you wholesome feel and can easily be categorized under ‘One Meal Recipe’. It is so delicious that sometimes I purposely make extra rotis during lunch preparation so that I can enjoy this amazing dish for dinner! It is my saviour on days when I am not sure what I should cook for breakfast or dinner. It needs few ingredients and is quick fix food.


Sindhi Phulka Bhaji Recipe: One Meal Indian Recipe!

Sindhi Phulka Bhaji Recipe: One Meal Indian Recipe!

Click “Print” or “PDF” button below to save this recipe!

You will need:

1 Medium Sized Onion Diced
4-5 Garlic Cloves
4 Green Chillies Whole
1 Inch Ginger Piece
4 Medium Sized Tomatoes Diced
½ Tsp Turmeric Powder
1 Tsp Red Chilli Powder
6 Tbsp Oil
1 Tsp Cumin Seeds
8-10 Leftover Chappatis/Rotis
1 – 1.5 Cup Water
Salt to taste

Serving: 2-3 Persons

Steps to Make Sindhi Phulka Bhaji:

  1. In a grinding jar, add onion, tomatoes, garlic cloves, ginger & green chillies. Also, add spices – salt, turmeric powder & red chilli powder. Grind it to a smooth paste.
  2. Remove the paste in a bowl & keep it aside.
  3. In a deep pan, heat oil and add cumin seeds. Allow it to crackle.
  4. Divide each roti/chappati into half. Apply the paste to each half of the roti & place it in the pan.
  5. Allow the rotis to crisp on one side on medium flame – light brown color. It will take about 5-7 minutes.
  6. Flip the rotis carefully, and let it crisp on the other side for about 5-7 minutes.
  7. Once it is cooked, add remaining gravy, if any.
  8. Add water and cook on high flame till the water gets absorbed completely.
  9. Cover the pan with lid for 2 minutes and turn the flame to low.
  10. Serve hot.

Other leftover recipes: Leftover Rice Stuffed Paratha

If you want to see how I made this Sindhi Phulka Bhaji, then head over to video recipe by clicking this link:


Click “Print” or “PDF” button below to save this recipe! 
Indian Spiced Chai/Tea Recipe: Cinnamon & Cardamom Flavor Chai/Tea

 Indian Spiced Chai/Tea Recipe: Cinnamon & Cardamom Flavor Chai/Tea

Indian Spiced Chai/Tea Recipe: Cinnamon & Cardamom Flavor Chai/Tea

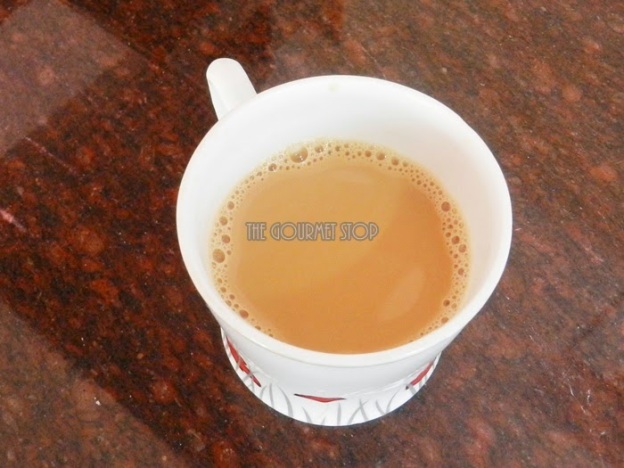
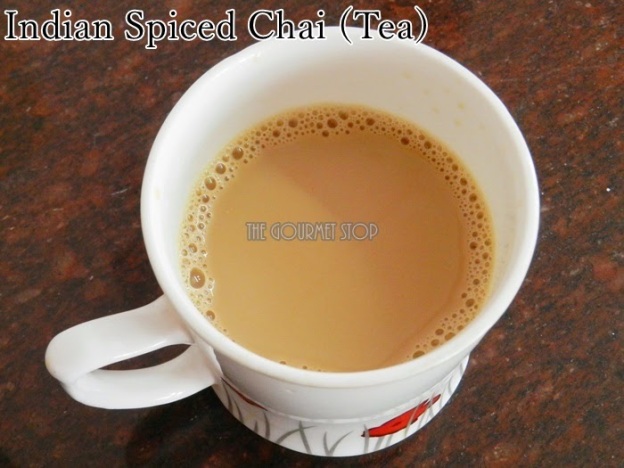
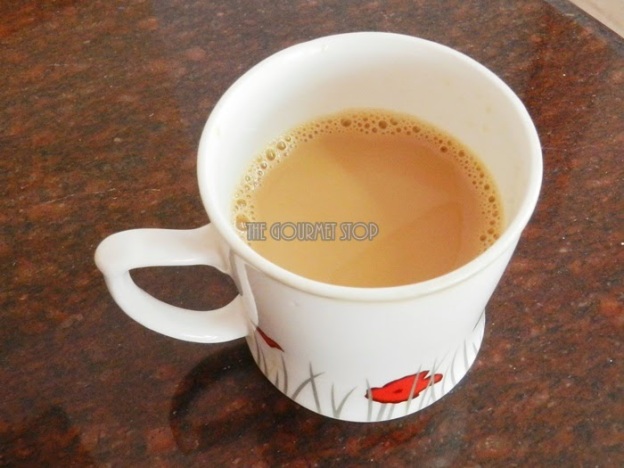
Some love coffee, for some its tea!  I am tea-lover and I can’t start my day without the dose of tea. Green tea is known to be a healthier option but I preserve that for later part of the day. In the morning, I NEED my flavoured version of “Chai”!  Here is a quick variety of Cinnamon & Cardamom flavoured tea. Both these flavours compliment each other so well and this tea instantly re-energises body. I even opt for this flavour when I am having severe headache. It instantly soothes & relaxes me.

Indian Spiced Chai/Tea Recipe: Cinnamon & Cardamom Flavor Chai/Tea

Indian Spiced Chai/Tea Recipe: Cinnamon & Cardamom Flavor Chai/Tea

Click “Print” or “PDF” button below to save this recipe!

You will need:

1 Inch Piece of Cinnamon/Dalchini
1 Piece Green Cardamom/Elachi – Roughly Pounded
1/2 Cup Water
1/2 Milk (Toned or Full Fat)
1 Tsp Sugar
1 Tsp Tea (Granulated)

Serving: Single

Steps to Make Indian Spiced Tea/Chai:
  1. In a sauce pan, add water, cinnamon, cardamom and allow it to come to boil.
  2. Add tea. Mix it with spoon and allow it to brew for 1-2 minutes on medium flame.
  3. Now add milk and sugar. Mix and let it brew for 2-3 minutes more depending upon how strong you  like your tea to be.
  4. Strain into a cup & enjoy!

Serving Suggestion: Enjoy the hot cup of tea with Chana DalKhaman, Khatta Meetha Dokhla, Homemade Rice Chips or Leftover Rice StuffedParatha!

If you want to see how I made this Indian Spiced Tea/Chai, then head over to video recipe by clicking this link:

Click “Print” or “PDF” button below to save this recipe!
Quick Jeera Rice Recipe : Easy Everyday Rice with Cumin Flavor

Quick Jeera Rice Recipe : Easy Everyday Rice with Cumin Flavor

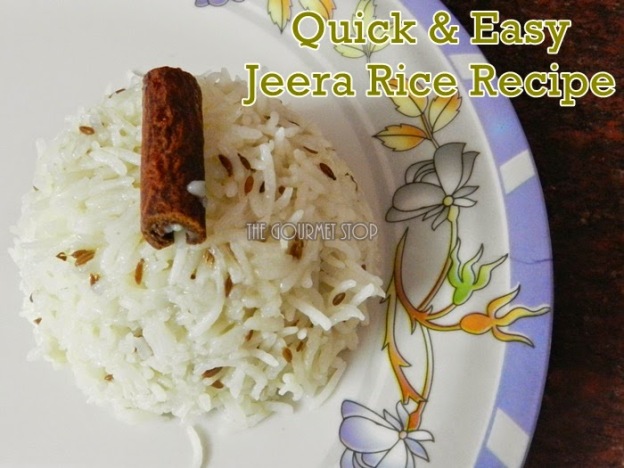
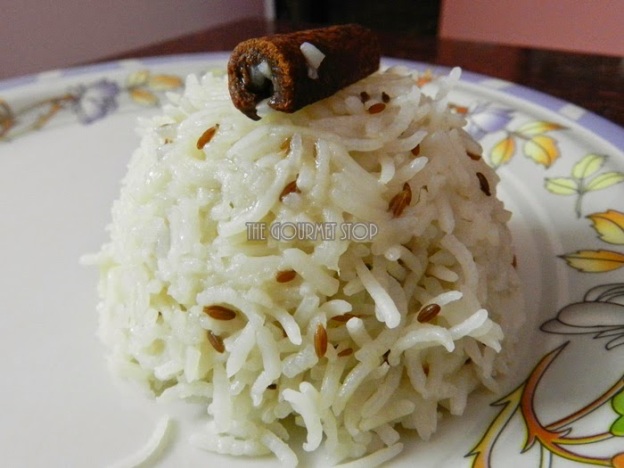
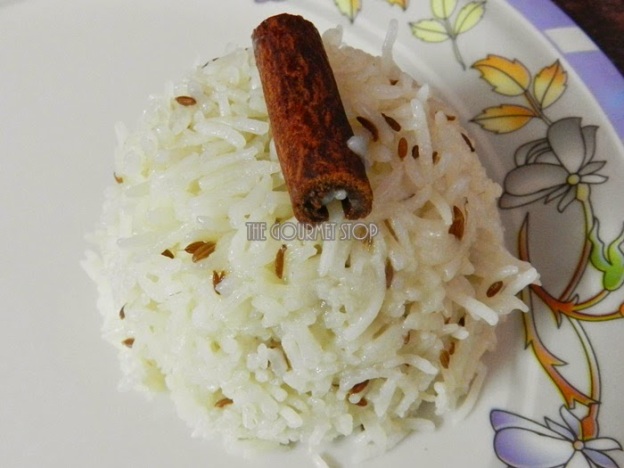
Everyday rice preparation with dal & sabzi can be boring, so it gets important to bring in your creativity & experiment with different spices and flavours. Here is a simple Jeera Rice Recipe which you can make in jiffy. This isn’t the “authentic restaurant style” Jeera Rice but it is simple and quick version of it; which can be easily adapted in day-to-day cooking.

Click “Print” or “PDF” button below to save this recipe!

Quick Jeera Rice Recipe : Easy Everyday Rice with Cumin Flavor

Quick Jeera Rice Recipe : Easy Everyday Rice with Cumin Flavor

You will need:

1 Cup Basamati/Long Grain Rice – Washed & Soaked for 2 hours
1 Tbsp Oil
1 Tbsp Cumin Seeds/Jeera
1 Inch Cinnamon Stick/Dalchini
2-4 Cloves/Laung/Laving
2 Cups Water
Salt to taste

Serving: 2-4 Persons

Steps to Make Quick Jeera Rice:

  1. Heat Oil in a deep pan, then add Cloves, Cinnamon, Cumin Seeds and cook it for few seconds till Cumin starts to crack & turn light brown in color.
  2. Add Water & Salt, allow it come to come boil.
  3. Now add Rice and stir it lightly. Be careful not to break the rice grain.
  4. Cook rice on high flame till about 80-90% of the water is absorbed/evaporated. It will take about 4-5 minutes.
  5. Cover with a lid & turn the flame to low. Let the rice cook for another 3-4 minutes or till it absorbs water completely.
  6. Turn off the gas.
  7. Serve with your favourite Dal or Kadhi like Sindhi Sai Bhajior Gujarati Kadhi.

Important Pointers:

  • Make sure you do not burn the Cumin Seeds/Jeera as it turns brown very quickly.
  • Do not stir the Rice frequently while cooking as it can break the long grain.
  • Always add Rice to boiling water, as it settle down & stick to the bottom of the pan if added to cold/room temperature water.

If you want to see how I made this Quick Jeera Rice, then head over to video recipe by clicking this link:


Click “Print” or “PDF” button below to save this recipe!
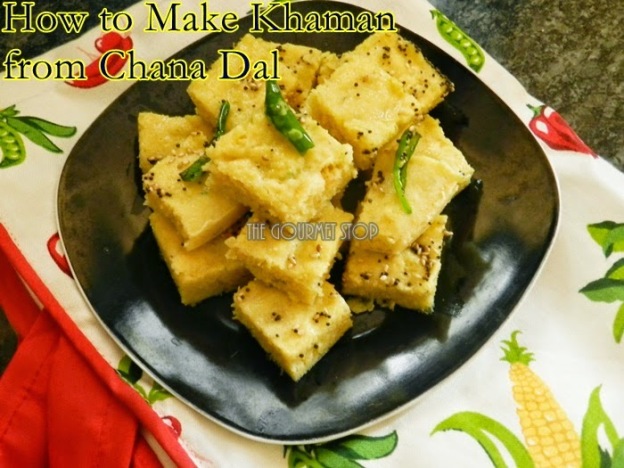
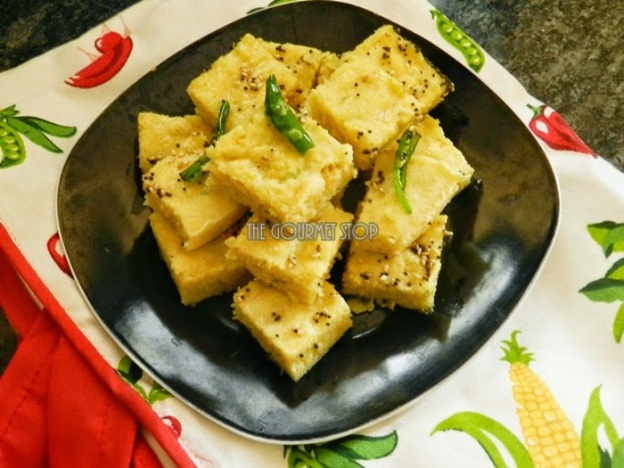
Chana Dal Khaman Recipe: An Authentic Gujarati Snack!

Chana Dal Khaman Recipe: An Authentic Gujarati Snack!

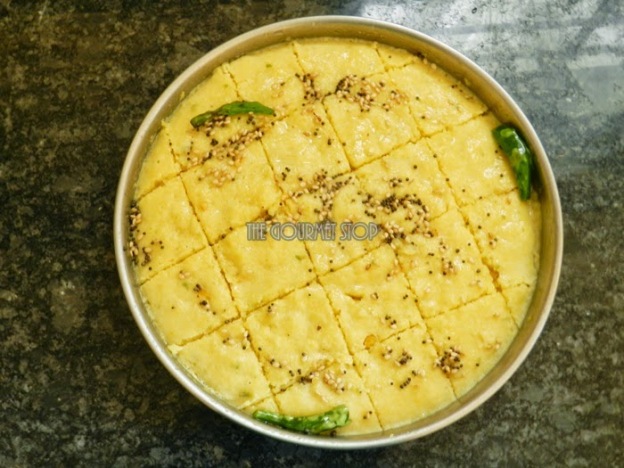
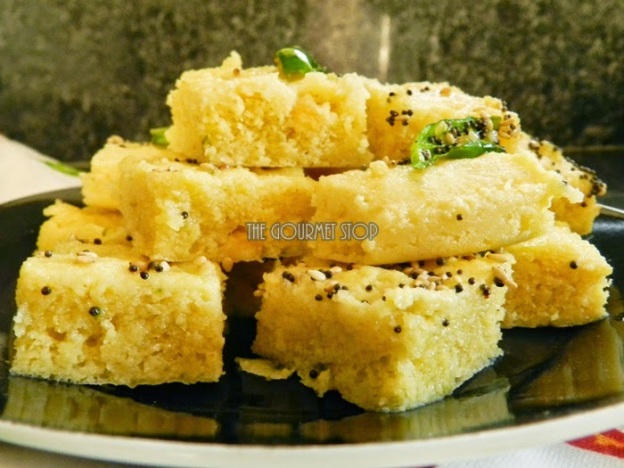
I have stayed in Gujarat for a long period  of my life and there is a saying ,”When in Gujarat, eat what Gujjus eat!”Well… I made it up! But truly gujarati cuisine is so tempting that you just can’t ignore it. Khaman holds a special place in hearts of gujarati people and it is made often & with different techniques & variations. Today, I am sharing Khaman Recipe which is made from Chana Dal/Bengal Gram Whole which is packed with proteins! With just little tips & tricks it is easy to make soft & fluffy Khaman…Yummm!!


Chana Dal Khaman Recipe: An Authentic Gujarati Snack!

Chana Dal Khaman Recipe: An Authentic Gujarati Snack!

Chana Dal Khaman Recipe: An Authentic Gujarati Snack!

Click “Print” or “PDF” button below to save this recipe!

You will need:

1 Cup Chana Dal/Bengal Gram Whole
3 Tbsp Curd (Preferably Sour Curd)
1/4 Tsp Turmeric Powder
2 Tbsp Oil + for greasing plate
1 Tbsp Green Chillies & Ginger Paste
2 Tsp Eno Fruit Salt (Non Flavoured)
Water as needed to grind the paste
Salt to taste

For tempering:

3 Tbsp Oil
1 Tsp Mustard Seeds/Rai
2 Green Chillies Slit in half
1/2 Tsp Sesame Seeds/Til/Taal
Chopped Coriander Leaves for garnish

Serving: Makes about 2 plates of Khaman

Steps to Make Chana Dal Khaman:

  1. Wash & soak Chana Dal in water for 6-7 hours.
  2. In a mixer, grind the soaked Chana Dal, Curd & Turmeric Powder with the help of water (if needed) to a coarse consistency paste.
  3. Transfer the coarsely grated Chana Dal mixture into a bowl, cover with a lid & allow it to ferment for 8 hours or overnight.
  4. Once fermented, add Salt, Oil, Green Chillies & Ginger paste & mix well.
  5. Divide the batter in two portions & add Eno Fruit Salt to the batter which you will steam first, pour a little water over it to activate the soda. Mix well.
  6. Pour the batter in greased plate & spread it evenly.
  7. Place the plate in a steamer & cook it for 20 minutes on high flame.
  8. After 20 minutes, check with the help of a knife if it is cooked properly. The knife will come clean if its cooked otherwise give it a few more minutes.
  9. Once cooked, remove from the steamer & let it cool down to room temperature then cut it into pieces.
  10. For tempering, heat oil in a small pan.
  11. Add Mustard Seeds, allow it to crackle. Then add, slit Green Chillies & Sesame Seeds. Turn off the gas.
  12. Spread the tempering evenly over the Khaman. Garnish with some Coriander Leaves.
  13. Its ready to serve.

Important Pointers:

  • For soft & fluffy Khaman, add Eno fruit salt just before you put it in steamer. If you will let it sit for long, the Khaman will turn out hard.
  • Burner flame should always high when you are steaming, it is possible Khaman will become hard if you switch the flame in between to low or medium.
  • For the batter, make sure the dal is grinded coarsely. You wont get nice grainy Khaman if you grind it to a fine paste.

If you want to see how I made this  Chana Dal Khaman, then head over to video recipe by clicking this link:


Click “Print” or “PDF” button below to save this recipe!
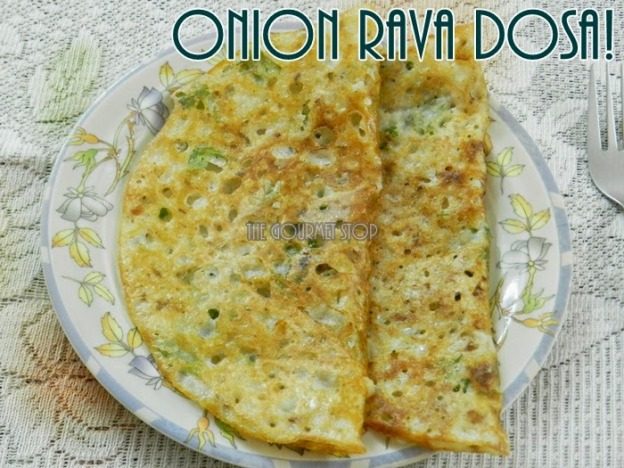
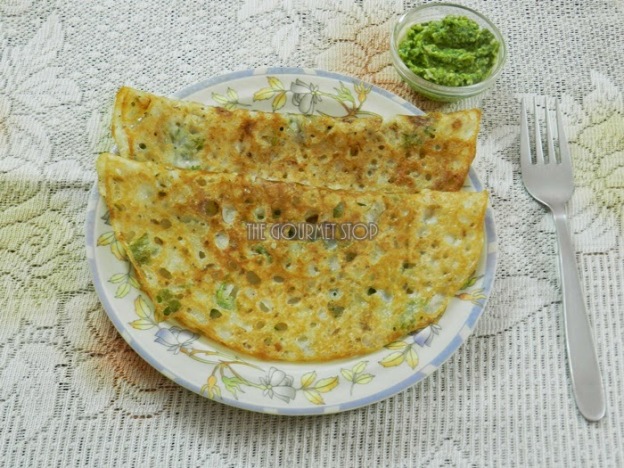
Onion Rava Dosa Recipe: Beginners Guide to make Perfect Rava Dosa

Guide to make Perfect Onion Rava Dosa for Beginners: Onion Rava Dosa Recipe

I love South Indian food! I enjoy it so much that atleast once a week I do make either Dosa or Idlis or Mendu Wada. My husband tells me I must be a South Indian in my previous birth!! Hahaha… But I guess because I have so many good friends from South & over the years they have treated me with the best of South Indian food that I keep on asking for more! Rava Dosa has always been my favourite but I could never ever master the skill of making the perfect Rava Dosa until now. According to my friend from South, it’s a piece of cake to make Rava Dosa! So, I asked her give all the tips & tricks she uses to make Rava Dosa.


She started by telling me it is important to use the right kind of Pan/Tawa. It is difficult to make the perfect round shaped Rava Dosa if you are beginner using the regular Dosa Tawa. It takes a while to master the art, so she recommended using a flat pan instead as it will help in getting the perfect round shape! Also, it will help the process of handling dosa very easy. The consistency of batter also plays an important role & since, the quality of rava/semolina differs from regions to regions, some absorb more water & some less. She told me always look for Chaas/Butter Milk like consistency & you will never go wrong. If you add more water, it will take ages for the dosa to crisp & if you take less water it won’t spread easily & might end up like a Upma.

Once you get the consistency right, making dosa is easy if you spread the Dosa batter in the pan the correct way! The right way is to start from the outside & coming towards the centre of the pan. Also, the batter should be poured from a little height so you get that nice net like structure. And most importantly, never add more batter to the area of pan which is already covered in batter, just fill in sparse spots/areas, to get even consistency of the Rava Dosa.
Finally, patience is the key to make Rava Dosa, it takes more time compared to regular dosas, so keep that in mind. I have mastered the art following these tips & now I can say making Onion Rava Dosa is a piece of cake!

Guide to make Perfect Onion Rava Dosa for Beginners: Onion Rava Dosa Recipe

Click “Print” or “PDF” button below to save this recipe!
You will need:

1/3 Cup Rava/Sooji/Semolina (Fine version)
1/3 Cup Rice Flour
1/6 Cup Refined Flour/Maida
2 Tbsp Chopped Onion
2 Tbsp Chopped Coriander Leaves
4-5 Curry Leaves Chopped
1 Tsp Green Chillies Chopped
1/2 Tsp Grated Ginger
1/2 Tsp Cumin Seeds
1/4 Tsp Black Pepper Powder
1 – 1.5 Cups Water or as needed
1 Tsp Oil per Dosa or as needed
Salt to taste

Serving: Makes 4-5 Medium Onion Rava Dosa

Steps to Make Onion Rava Dosa:

  1. In a mixing bowl, add Rava/Sooji/Semolina, Rice Flour, Maida/Refined Flour and Water. Mix well.If the consistency is thick, add more water as needed.
  2. Now add Salt, Cumin Seeds/Jeera and Black Pepper Powder/Kal Mirchi Powder.
  3. Mix & keep aside for 40-50 minutes.
  4. After 50 mins check the consistency of the batter, add more water if needed.   
  5. Add Ginger/Adrak, Curry leaves, Green Chillies, Onion, Coriander Leaves. Mix well.
  6. Heat a Flat Pan/Dosa Tawa, drizzle some oil.
  7. Mix the batter everytime you pour the batter in the pan as rava & rice flour has tendancy to settle at the bottom.
  8. Pour the batter, starting from the sides & coming towards the centre. Pour batter only on portion which is not covered in batter. Do not layer the batter.
  9. Allow it cook on medium flame for 3-4 minutes.
  10. Drizzle some oil on the sides & let it cook for 5-6 minutes, till you see some brown spots.
  11. Flip the dosa over & let it cook for 2-3 minutes on medium flame.
  12. Flip & fold it in half. Onion Rava Dosa is ready!
  13. Serve with Coconut Chutney or Green Coriander Chutney.

Important Pointers

  • If you are a beginner, use a flat pan instead of traditional Dosa Tawa.
  • The consistency of the batter should not be too thick or too thin. For reference, it should be like Chaas/Buttermilk consistency.
  • Never layer the batter, just fill in the sparse areas.
  • Pour the batter in the pan from a little height for the perfect net like effect on Onion Rava Dosa.

If you want to see how I made this Onion Rava Dosa Recipe, then head over to video recipe by clicking this link:


 Click “Print” or “PDF” button below to save this recipe!