Category Archives: Indian Recipes

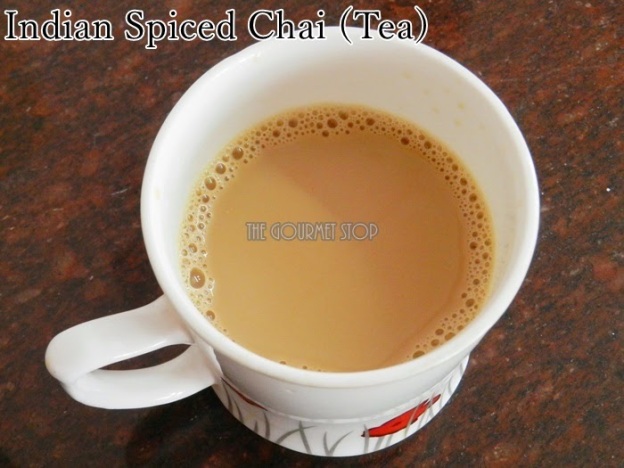
Indian Spiced Chai/Tea Recipe: Cinnamon & Cardamom Flavor Chai/Tea

 Indian Spiced Chai/Tea Recipe: Cinnamon & Cardamom Flavor Chai/Tea

Indian Spiced Chai/Tea Recipe: Cinnamon & Cardamom Flavor Chai/Tea

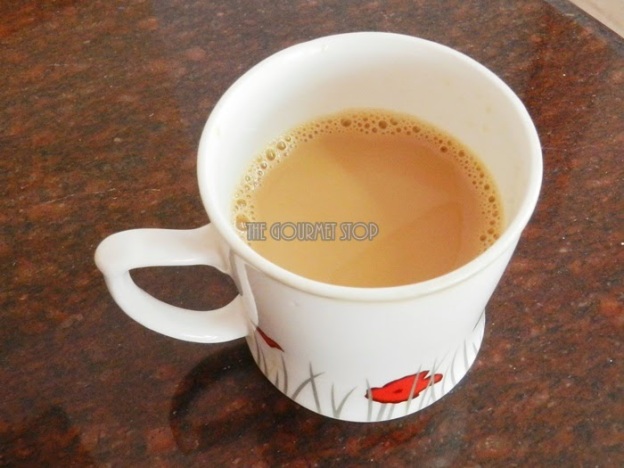
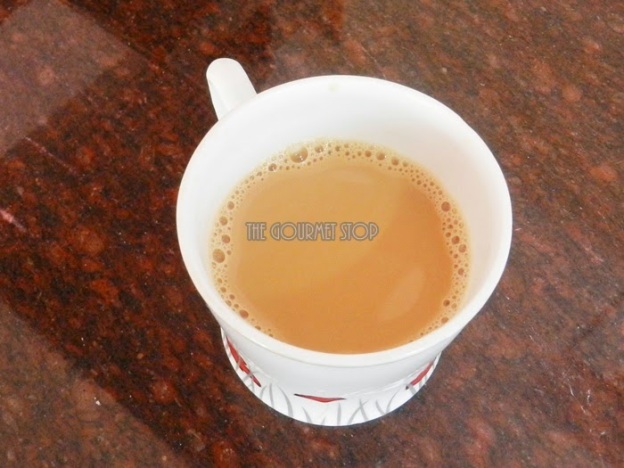
Some love coffee, for some its tea!  I am tea-lover and I can’t start my day without the dose of tea. Green tea is known to be a healthier option but I preserve that for later part of the day. In the morning, I NEED my flavoured version of “Chai”!  Here is a quick variety of Cinnamon & Cardamom flavoured tea. Both these flavours compliment each other so well and this tea instantly re-energises body. I even opt for this flavour when I am having severe headache. It instantly soothes & relaxes me.

Indian Spiced Chai/Tea Recipe: Cinnamon & Cardamom Flavor Chai/Tea

Indian Spiced Chai/Tea Recipe: Cinnamon & Cardamom Flavor Chai/Tea

Click “Print” or “PDF” button below to save this recipe!

You will need:

1 Inch Piece of Cinnamon/Dalchini
1 Piece Green Cardamom/Elachi – Roughly Pounded
1/2 Cup Water
1/2 Milk (Toned or Full Fat)
1 Tsp Sugar
1 Tsp Tea (Granulated)

Serving: Single

Steps to Make Indian Spiced Tea/Chai:
  1. In a sauce pan, add water, cinnamon, cardamom and allow it to come to boil.
  2. Add tea. Mix it with spoon and allow it to brew for 1-2 minutes on medium flame.
  3. Now add milk and sugar. Mix and let it brew for 2-3 minutes more depending upon how strong you  like your tea to be.
  4. Strain into a cup & enjoy!

Serving Suggestion: Enjoy the hot cup of tea with Chana DalKhaman, Khatta Meetha Dokhla, Homemade Rice Chips or Leftover Rice StuffedParatha!

If you want to see how I made this Indian Spiced Tea/Chai, then head over to video recipe by clicking this link:

Click “Print” or “PDF” button below to save this recipe!

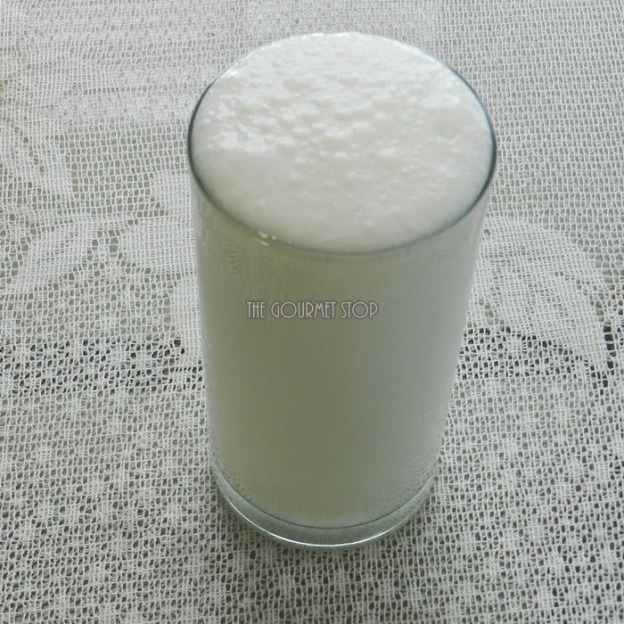
Traditional Punjabi Sweet Lassi Recipe: Indian Yoghurt Smoothie Recipe!

Authentic Punjabi Sweet Lassi Recipe: Indian Yoghurt Smoothie Recipe!
Traditional Punjabi Sweet Lassi Recipe: Indian Yoghurt Smoothie Recipe! 

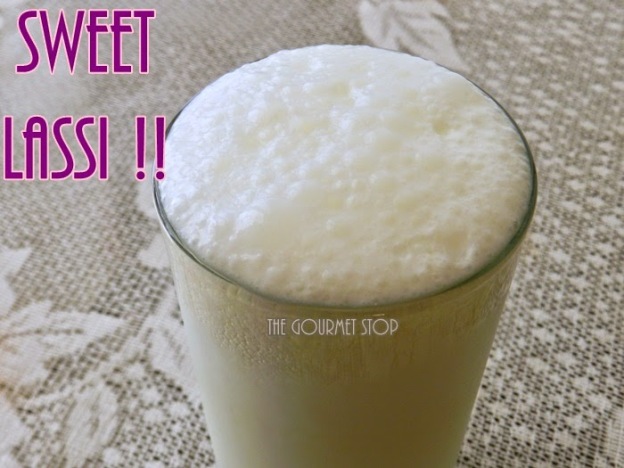
When I visited my Aunt in Punjab sometime ago, she made this amazing Sweet Lassi for us! It was sooooo delicious that it left us licking our lips after every sip! Not to mention it was kind of heavy for our appetite & when it is served in tall brass glass, you can easily skip a meal. I had to get this recipe & wanted her tips & tricks to make that perfect glass of Sweet Lassi to beat the heat this summer!

My aunt began by telling me that even with all the new age gadgets available in kitchen, she prefers making it traditional way – with a Wooden Churner or Madhani! She says no blender can beat the taste of Lassi made with Madhani & I totally have to agree with her on this! If you use a Madhani, then you can in no way over beat/muddle the curd whereas with a blender in a matter of seconds curd can turn into butter, spoiling the Lassi! She also did mention that always use fresh curd made from full fat milk for creamier Lassi. Fresh curd has slight sweetness to it & you can cheat on by adding less sugar. And of course, in Punjab they have to add a dollop of butter or cream on Lassi but I am totally gonna skip it!! Watching those extra calories 😉 Trust me it’s still going to taste super delicious!
Authentic Punjabi Sweet Lassi Recipe: Indian Yoghurt Smoothie Recipe!

Authentic Punjabi Sweet Lassi Recipe: Indian Yoghurt Smoothie Recipe!
Click “Print” or “PDF” button below to save this recipe!

You will need:

1/2 Cup Full Fat Milk Curd (Fresh)
3 Tbsp Powdered Sugar or as required
1/2 Cup Chilled Water
4-5 Ice Cubes

Serving: 1 Glass

Steps to Make Authentic Punjabi Sweet Lassi:

1.       In a deep vessel, add curd & churn it with a Wooden Churner/Madhani or even a Muddler until it’s smooth & lumps free. It should take about 1-2 minutes.
2.       Add in powdered sugar & muddle for another 1-2 minutes.
3.       Once sugar is dissolved, add chilled water.
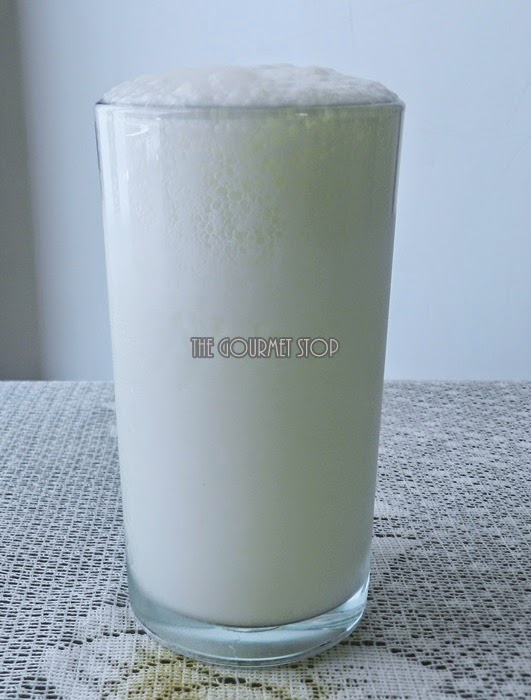
4.       Churn for another 1-2 minutes to get that froth! The more you churn, frothier Lassi will become. But make sure you do not overdo it.
5.       Pop in some Ice Cubes & serve chilled!

Important Pointers:

·         If you don’t have the wooden churner, just add everything in a blender & blend for 1-2 minutes maximum. Do not overbeat it or else curd will turn into butter.
·         We are using powdered sugar because it takes less time to dissolve.
·         Always use fresh curd to make Lassi.
·         Using chilled water will make the frothing process faster.

If you want to see how I made this Punjabi Sweet Lassi, then head over to video recipe by clicking this link:


Click “Print” or “PDF” button below to save this recipe!

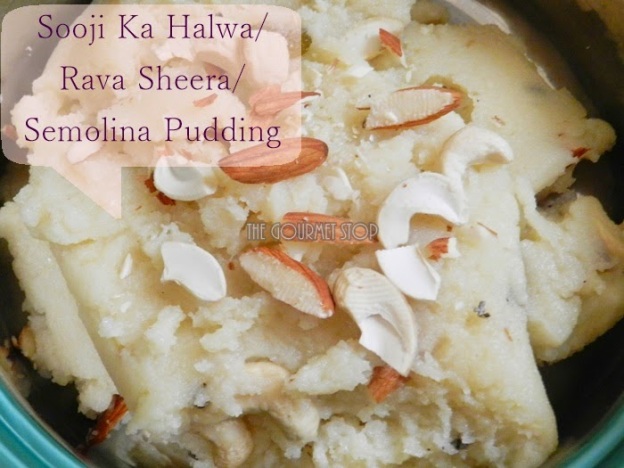
Sooji Ka Halwa – Rava Sheera Recipe – Little Less Calories Version!

Sooji Ka Halwa - Rava Sheera Recipe - Little Less Calories Version!

Sooji Ka Halwa – Rava Sheera Recipe – Little Less Calories Version!

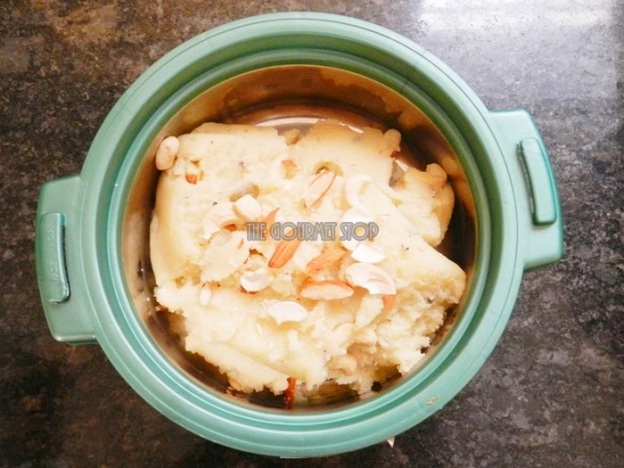
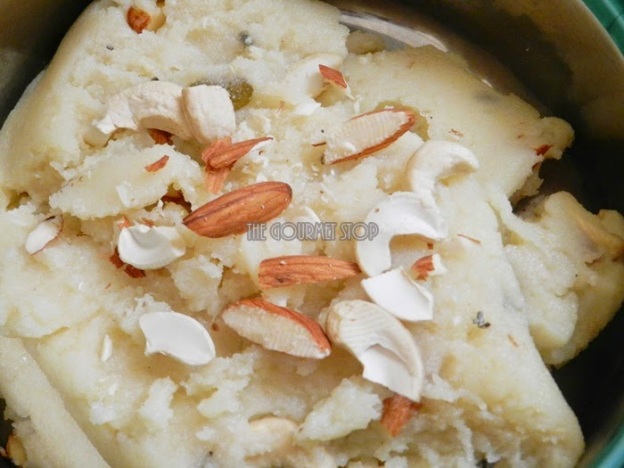
Sooji Ka Halwa or also known as Rava Sheera or Semolina Pudding is a very common sweet dish served across India. Sooji Ka Halwa is generally prepared in many households for poojas & ceremonies. Generally accompanied with savory Chole Puri or Aloo Puri, it is one delicious & simple recipe to cook. Though the ratio of sooji (semolina), sugar & ghee (clarified butter) are used in equal proportion, I have tweaked the recipe to bring the calories count down a bit.

Sooji Ka Halwa - Rava Sheera Recipe - Little Less Calories Version!

Click “Print” or “PDF” button below to save this recipe!

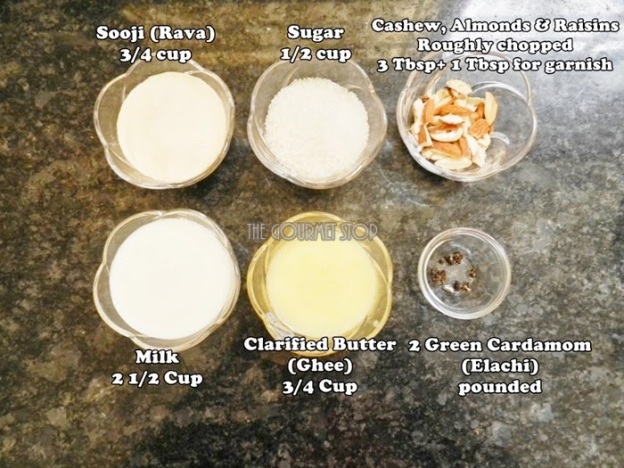
You will need:

3/4 Cup Rava/Sooji/Semolina (use the fine variety of rava)
1/2 Cup Sugar (original recipe says 3/4 Cup)
3/4 Cup Ghee/Clarified Butter
2 ½ Cup Milk (Full fat or low fat as you prefer)
3 Tbsp + 1 Tbsp Roughly chopped Cashewnuts, Almonds & Raisins
2 Green Cardamom/Elachi pounded

Serving: 2-3 persons

Steps to Make Sooji Ka Halwa:  

  1. In a deep pan, begin by mixing sooji & ghee. 
  2. Turn on the gas on low flame & let it cook till ghee separates from sooji. 
  3. Keep stirring frequently or continuously to make sure sooji doesn’t burn. It will take about 6-7 minutes. 
  4. Once the ghee separates, let it cook till sooji turns slightly pink in color. 
  5. Once it reaches the desired color, add milk & keep on stirring it continuously. Make sure there are no lumps. 
  6. When sooji absorbs the entire milk & the mixtures leaves the pan sides, its time to add the sugar. 
  7. And when sugar completely dissolves in the mixture, add green cardamom, dryfruits.
  8. Turn off the gas & garnish it with few more nuts.

Important Pointers: 

  • Many people prefer their halwa to be a little dark but I prefer it whitish in color. If you want  pinkish brown color then continue cooking for few more minutes at Step 3.
  • I have added only ½ Cup sugar as opposed to ¾ Cup but you can add more if you like your halwa to be sweet.
Sooji Ka Halwa - Rava Sheera Recipe - Little Less Calories Version!

If you want to see how I made this Sooji Ka Halwa, then head over to video recipe by clicking this link:


Click “Print” or “PDF” button below if you want to save this recipe!
Homemade Rice Chips Recipe: Tea Time Munching Snack!

Homemade Rice Chips Recipe: Tea Time Munching Snack!

Homemade Rice Chips Recipe: Tea Time Munching Snack!


As a child, I always used to see my mom making chips of various kinds during summers & I used to lend her a helping hand. Face it, making chips from 20 kgs of potatoes wasn’t an easy thing. There was series of tasks involved – peeling, slicing, blanching, drying under the sun for many days. As a child it all seemed fun but when I grew up all this work seemed tedious and I told myself, “I will never make chips at home!” But on the contrary, here I am making/sharing Rice Chips Recipe. When I learnt about this recipe from a relative, I was intrigued to try. It is such an easy recipe with fewer ingredients; I knew I had to make this. I am so glad I made it all by myself and it turned out really really good, despite being my first attempt. I am already thinking of ways to innovate this recipe and create different variations. But more on that later.


Homemade Rice Chips Recipe: Tea Time Munching Snack!

Click “Print” or “PDF” button below to save this recipe!

You will need:

1 Cup Small Grain Rice
2.5 Cups Water
1 Tsp Cumin Seeds
1 Tsp Sesame Seeds
2 Tsp Green Chillies Paste
Oil for deep frying
Chat Masala for sprinkling/garnish
Salt to taste

Homemade Rice Chips Recipe: Tea Time Munching Snack!
The Mould

Steps to Make Rice Chips At Home:  

  1. First & foremost, wash & soak rice atleast for 8 hours, I prefer soaking it overnight.
  2. Next, in a pressure cooker, add all the ingredients – rice, water, green chillies paste, cumin & sesame seeds & pressure cook for 3 -4 whistles. 
Homemade Rice Chips Recipe: Tea Time Munching Snack!
Cooked Mixture

 3. Once the pressure cools down, allow it come to room temperature. 
4. Assemble the ‘Sev/Chakri Mould’, use the Chakri making plate. 
5. Fill up the mould with the rice mixture, screw the lid and make chips on a cloth. Do not worry about the shape& size. 

Homemade Rice Chips Recipe: Tea Time Munching Snack!
Filling the Mould with mixture

6.  Once you are done, it should look like this.

Homemade Rice Chips Recipe: Tea Time Munching Snack!
Chips drying on cloth under the sun

7. You should do the process of making chips on the cloth under the sun itself – on a terrace or a balcony. 
8. Allow it dry under the sun for a day. 
9. If you feel there is still some moisture content in the chips, then keep it under the sun for another day. My chips took 2 days to completely dry. 

Homemade Rice Chips Recipe: Tea Time Munching Snack!
After 2 days under the sun!

10. Once these chips are sun-dried, store it away in an air-tight container & fry as needed. It can be stored for months. 

Homemade Rice Chips Recipe: Tea Time Munching Snack!
Dried Rice Chips

11. Fry the chips & sprinkle some chat masala after frying. Munch on it anytime!

Homemade Rice Chips Recipe: Tea Time Munching Snack!
Mouth watering chips ready to eat 🙂

Important Pointers:

  • I am using small grain rice because it is economical when you plan to make large quantities. If you do not have small grain use the long grain rice (basmati).
  • What we are looking for is lumpy consistency of cooked rice, if you feel the rice seems separated after cooking, add in more water and cook it for another 1-2 whistles. You can never overdo the rice for this recipe. 
  • Please do not make the chips on tissue or paper, in my experience it sticks badly and doesn’t come off after drying.

If you want to see how I made this Rice Chips, then head over to video recipe by clicking this link:


Food Trivia: Homemade Rice Chips are better alternative to those packet chips you get in the market. With all those preservatives, spices etc they use to make it, these Rice Chips are a much healthier options.

Cheat Tricks: If you do not want to pile on calories by deep frying it, cook them in microwave – on high power for about 20-30 seconds. It tastes yummy too!

P.S – If you have never used the ‘Sev Mould’ before it can pain you while using it, use a muscular helping hand like your husband 😉

Click “Print” or “PDF” button below if you want to save this recipe!