Category Archives: Healthy Recipes

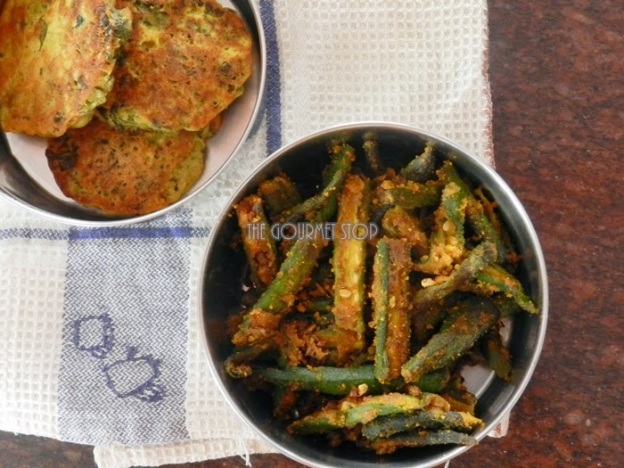
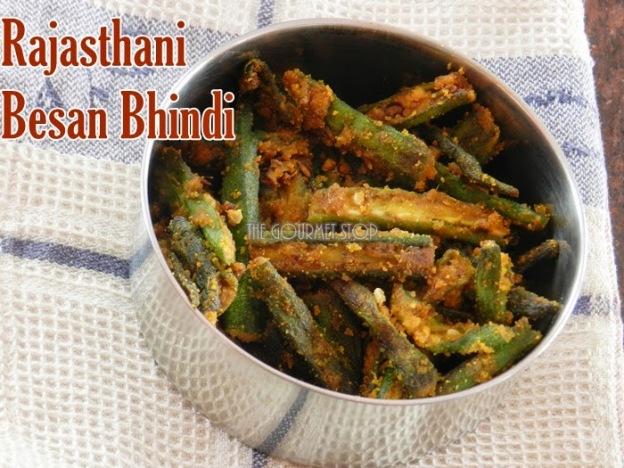
Rajasthani Besan Wali Bhindi Recipe: A perfect recipe for Lunch Tiffin!

Rajasthani Besan Wali Bhindi Recipe: A perfect recipe for Lunch Tiffin!

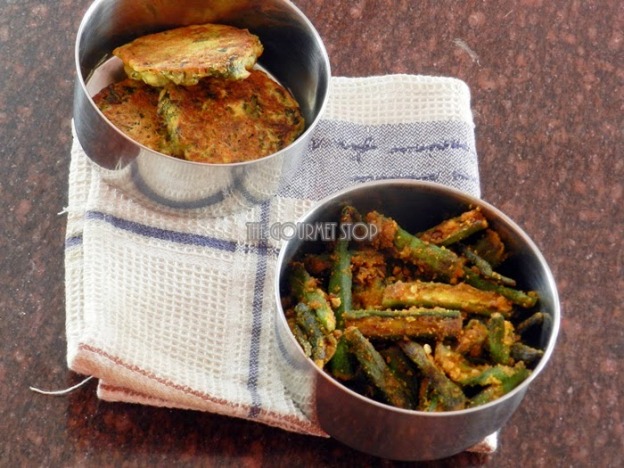
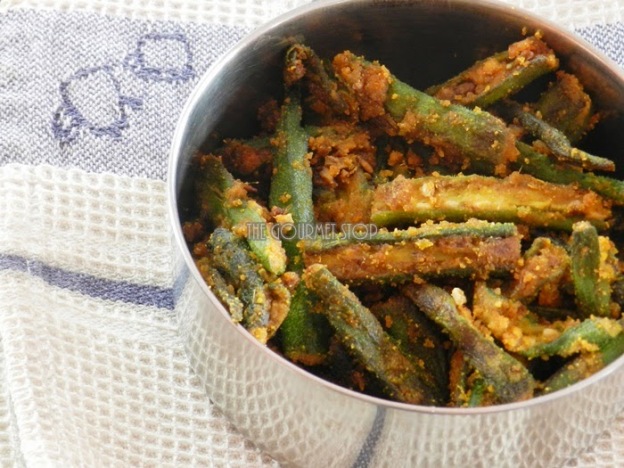
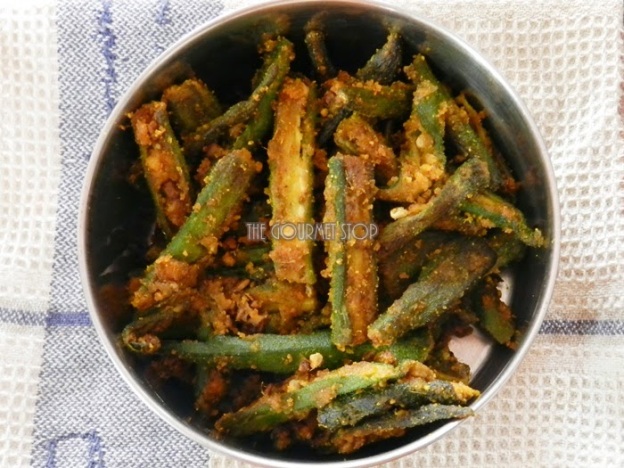
Every morning I struggle, thinking what I should pack ‘different’ for my husband’s lunch time tiffin. Though I normally prefer making everyday roti & sabzi but it gets boring & repetitive week after week. So, I have started tweaking those everyday sabzi & try to make it in different variations. Now, Bhindi/Okra/Lady Fingers are so so common in Indian households and I am sure you make Bhindi ki sabzi atleast once or twice in a week. Here is a quick & different version of Bhindi ki sabzi, inspired by my visit to Rajasthan in 2010 – ‘Rajasthani Besanwali Bhindi’! What I observed is that you will find extensive use of Besan/Chickpea/Gram Flour in their cuisine which is very unique. It was loved by everyone in my home & I did receive quite a lot of compliments too. It is a perfect sabzi to make in the morning when you have thousand of things to do!

Rajasthani Besan Wali Bhindi Recipe: A perfect recipe for Lunch Tiffin!

Rajasthani Besan Wali Bhindi Recipe: A perfect recipe for Lunch Tiffin!

Rajasthani Besan Wali Bhindi Recipe: A perfect recipe for Lunch Tiffin!

Rajasthani Besan Wali Bhindi Recipe: A perfect recipe for Lunch Tiffin!

PS: Do you see a kabab like thing in pictures, that I made for tiffin? It’s made from leftover Sindhi Sai Bhaji, I will share recipe for that soon!

Click “Print” or “PDF” button below to save this recipe!

You will need:

250gm Bhindi/Lady Fingers/Okra – Slit in half length wise
1/4 Cup Gram Flour/Chickpea Flour/Besan
1/4 Tsp Turmeric Powder
1 Tsp Coriander Powder
1 Tsp Red Chilli Powder
1/2 Tsp Fennel Seeds/Saunf Powder
1/2 Tsp Cumin Seeds/Jeera Powder
1/2 Tsp Dry Mango/Amchur Powder
1/4 Tsp Asafoetida/Hing
1 -2 Tbsp Water to sprinkle
Salt to taste

Serving: 2-3 Persons

Steps to Make Rajasthani Besanwali Bhindi:

  1. In a pan add oil & allow it to heat. Add cumin seeds & let it flutter.
  2. Add asafoetida followed by Lady Finger/Bhindi/Okra – slit in half lengthwise.
  3. Mix well. Let is cook on medium flame for 2-3 minutes. Give it a stir after 2-3 mins & let it cook again.
  4. Add salt to taste, turmeric powder & mix.
  5. Cook bhindi fot 8-9 minutes, stirring occasionally, till it gets a little crispier on medium flame.
  6. Once the oil separates, add besan/chickpea flour/gram flour, coriander powder, Red Chilli Powder, Sauf Powder, Jeera Powder, & Dry Mango Powder. Mix everything well.
  7. Cover with lid & let it cook for 3-4 minutes on low flame.
  8. Open the lid after 3-4 minutes, sprinkle some water if required, so it doesn’t stick to the pan.
  9. Mix & give it another 2-3 minutes, then turn off the gas.
  10. It’s ready to be served.

If you want to see how I made this Rajasthani Besanwali Bhindi,then head over to video recipe by clicking this link:


Click “Print” or “PDF” button below if you want to save this recipe!
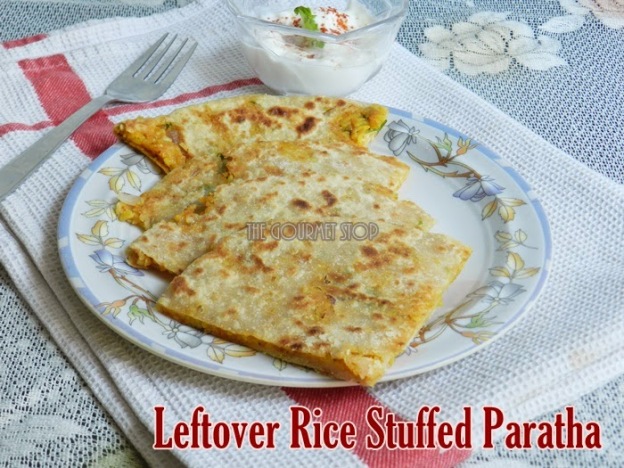
Leftover Rice Stuffed Paratha Recipe

Leftover Rice Stuffed Paratha Recipe


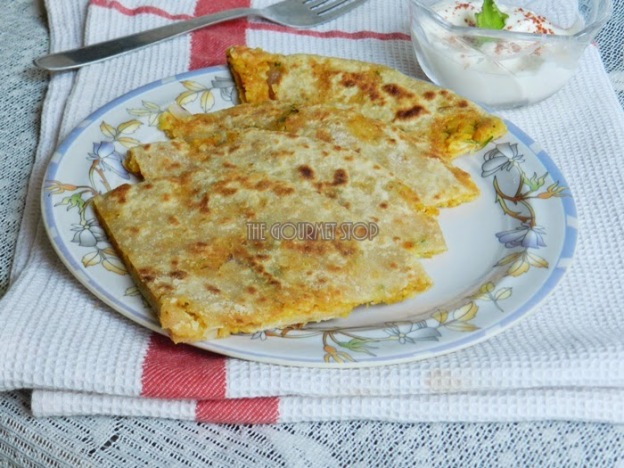
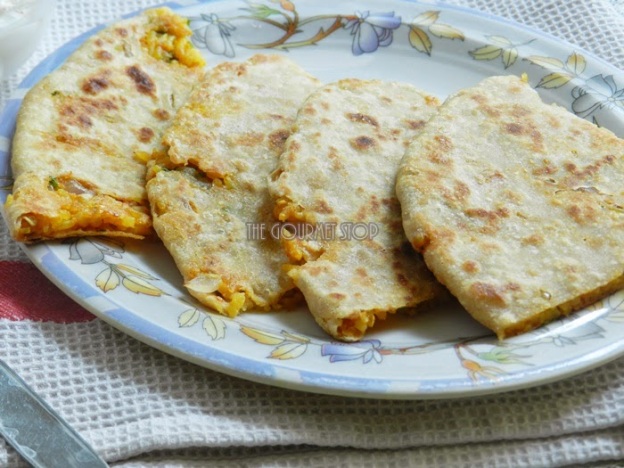
Simple plain rice is not a favourite recipe at my home, unless it is served with some spicy accompaniments like dal, rajma, chole, sambhar or some curry. Like, last week I made this simple rice with some cumin, turmeric, red chilli powder, potatoes & salt for my nephew (because he is a toddler!!); he sniffed it, tasted a bite, made a funny face and went back to playing! Basically, he didn’t like the taste of simple yellow rice!! So, there I had a leftover which needed to be tweaked, re-cooked & served to be loved by all. So, I came up with this interesting Leftover Rice Stuffed Paratha. I am been cautions about the calories here, so I have used little oil for cooking, you can of course shallow fry it as per your liking. Also, you can top up the paratha with a gallop of butter if you like! Yum!

Click “Print” or “PDF” button below to save this recipe!

Leftover Rice Stuffed Paratha Recipe

You will need:

1 Cup Leftover Rice
1 Medium Sized Onion Chopped
1 Green Chilli Chopped
1 Tbsp Coriander Leaves Chopped
1 .5 Tsp Red Chilli Powder (or as per taste)
1/2 Tsp Coriander Seeds Powder
2-3 Tsp Oil per Paratha
Wheat Flour Dough as required
Salt to taste

Serving: Makes about 4 Parathas

Steps to Leftover Rice Stuffed Paratha:

  1. In a mixing bowl, add leftover rice & mash the rice with your hand or in a blender.
  2. Now add in onion, green chillies, coriander leaves & mix well.
  3. Add spices – salt, red chilli powder, coriander seeds powder & mix again.
  4. Keep this stuffing aside.
  5. For rolling paratha, on a flat surface take about tennis ball size of dough & with a rolling pin, roll the dough till half way. Use dry flour to roll as needed.
  6. Place about 2-3 Tbsp stuffing kept aside at the centre of the rolled dough.
  7. Now start sealing the dough to form a round ball like shape, pressing the stuffing in.
  8. With the help of dry flour & rolling pin start rolling the stuffed dough using very light pressure & keep  sealing the ends with fingers as you roll.
  9. Quickly run a knife below the paratha in case it might have got stuck at the base.
  10. Heat a pan/tawa, drizzle oil.
  11. Place the paratha in the pan carefully.
  12. On medium flame let it cook for 30-40 seconds.
  13. Now flip the paratha with a spatula.You will see some light brown spots.
  14. Apply oil on one side & after 30-40 seconds flip it again.
  15. Press lightly with spatula & cook for another 20-30 seconds.
  16. Repeat the process other side – apply oil, flip over, press gently with spatula for few seconds.
  17. Turn the flame on high & cook for 5-8 seconds.
  18. Flip again, cook for 5-8 seconds & turn off the gas.
  19. Paratha is ready to be served.
  20. Serve with curd & top it up butter (optional).


Important Pointers:


  • Since I used rice which already had some spices in it, I didn’t add lot of spices. But if you are using plain white rice, then add turmeric powder & increase the quantity of other spices.
  • I have used very little oil for cooking. You can shallow fry it too.
  • Top up Paratha with Ghee or Butter if desired.

If you want to see how I made this Ginger Lemonade, then head over to video recipe by clicking this link:
Click “Print” or “PDF” button below to save this recipe!

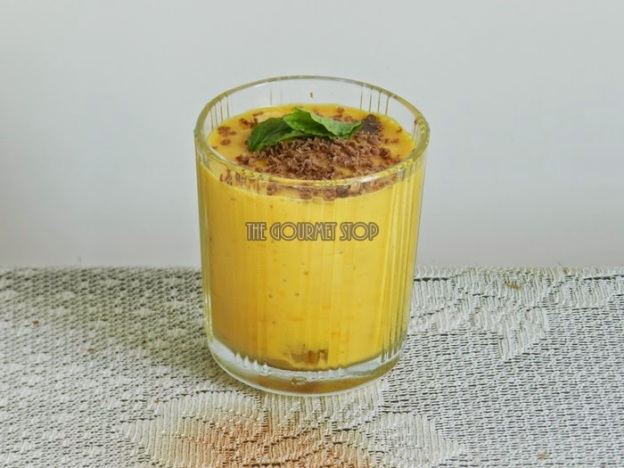
Chocolate Mango Milkshake Recipe : Easy Summer Milkshake Recipe

Chocolate Mango Milkshake Recipe : Easy Summer Milkshake Recipe

Summer time is equal to mango time in our home! We are some serious mango lovers and basically can have mangoes at anytime of the day & in any form. So, I decided to mix two of my favourite ingredients – chocolate & mangoes to create this amazing Milkshake. Chocolate + Mangoes = Yummy combination! It is again so easy to make & seriously delicious! If you choose ripe & sweet mangoes then probably you can skip the sugar completely! Plus the chocolate adds sweetness too!

Click “Print” or “PDF” button below to save this recipe!

Chocolate Mango Milkshake Recipe : Easy Summer Milkshake Recipe

You will need:

1 Cup Juicy ripe mango cut into pieces
400 ml Chilled Milk
2 Tbsp Powdered Sugar or as per taste
16 gm Milk Chocolate ( my choice Cadbury Dairy Milk)
Ice Cubes
Mint leaves & grated Chocolate for garnish

Steps to Make Chocolate Mango Milkshake:

1.       In a blending jar, add mango pieces, powdered sugar & chocolate pieces.
2.       Cover the lid & blend it for 20-30 seconds.
3.       Try to not blend the chocolate pieces a lot.
4.       Add Milk & churn for 20-30 seconds more.
5.       In a serving glass, add ice cubes & pour the Chocolate Mango Milkshake over the ice.
6.       Garnish with grated chocolate & mint leaf. 

Important Pointers:
·         You can use regular sugar if you don’t have powdered sugar.
·         I am using chocolate directly from the fridge, to avoid blending the chocolate completely. You would like to retain some pieces.

If you want to see how I made this Chocolate Mango Milkshake Recipe, then head over to video recipe by clicking this link:

Click “Print” or “PDF” button below if you want to save this recipe!
Basics 101: How to Sprout Beans!

Basics 101: How to Sprout Beans!

Basics 101: How to Sprout Beans!

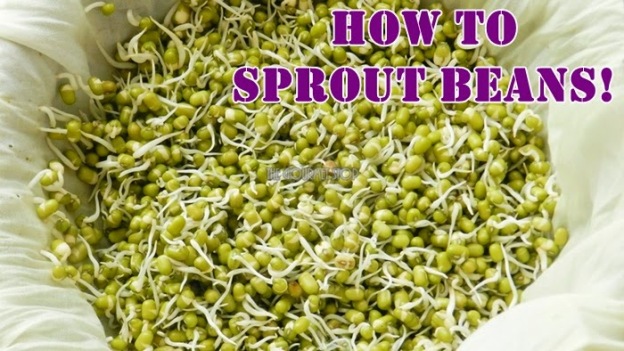
Let’s talk about some basics today, sprouts! You can sprout any form of beans & pulses, they have high nutritional value and protein rich. Sprouting Green Gram (Moong) is the most easy of all. So, let’s begin! We are sprouting 1 Cup of Moong & the final result will be almost double the quantity of sprouts.

Click “Print” or “PDF” button below if you want to save this recipe!

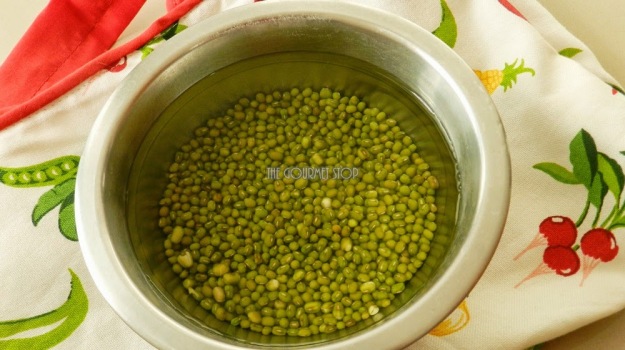
Wash your beans really well, make sure there is no dirt & soak it in 3 times water for about 8 hours or overnight.

Basics 101: How to Sprout Beans!


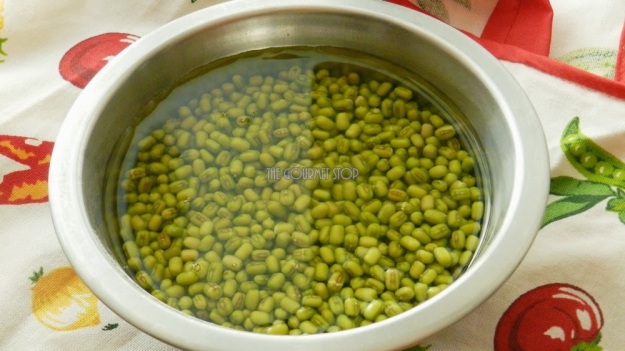
This is how it will look after soaking.

Basics 101: How to Sprout Beans!

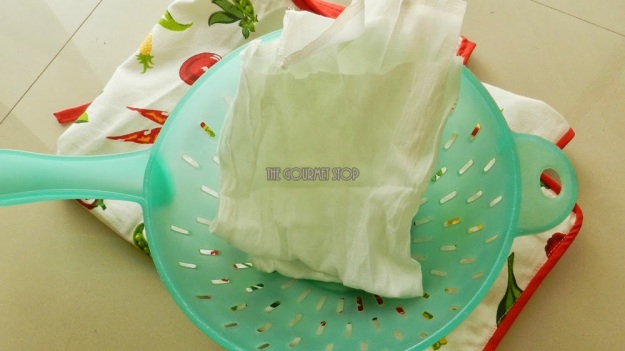
For next step you need to strain the water from the beans and dampen a muslin cloth or any kind of thin cloth.

Basics 101: How to Sprout Beans!


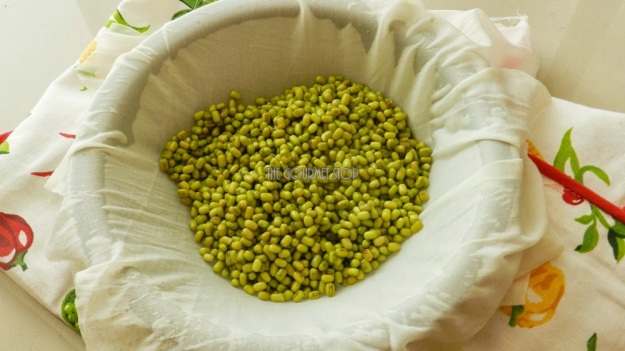
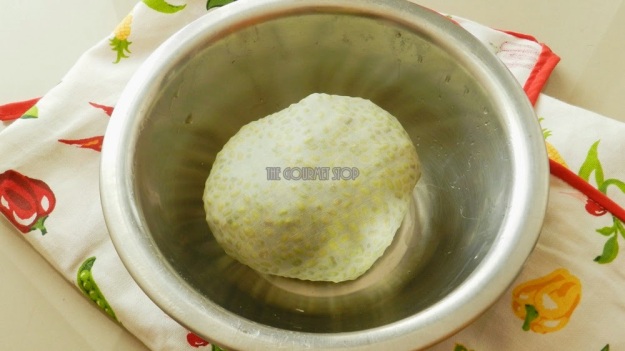
Use a stainless steel bowl or any vessel which is not transparent. Sprouting process takes place best in dark environment. Spread the damp cloth over the bowl & place the beans inside.

Basics 101: How to Sprout Beans!


Make a potli or fold it well & keep it upside down.

Basics 101: How to Sprout Beans!


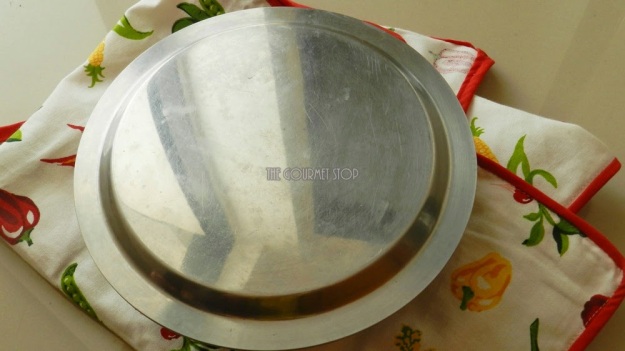
Cover with a lid, again it should be opaque. Put this bowl in a closed cabinet or turned off oven, anywhere where there is no direct light for a day atleast.

Basics 101: How to Sprout Beans!


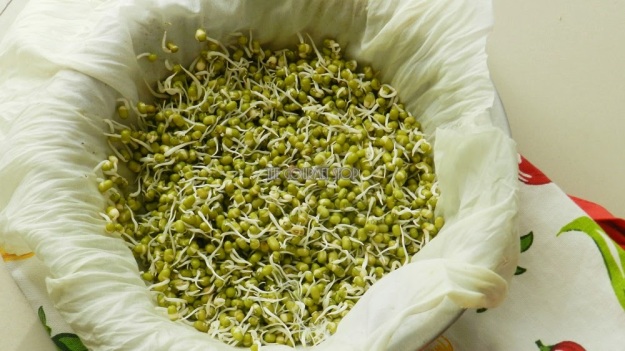
When you will check next day, your sprouts will be ready. If you feel the beans had not sprouted enough you can keep it back in dark place for another few hours or even a day.

Basics 101: How to Sprout Beans!


If you want to see how I Sprout Beans, then head over to video recipe by clicking this link:

Click “Print” or “PDF” button below if you want to save this recipe!
Penne Pasta Tossed in Spinach Gravy: Quick & Healthy Pasta Recipe

Penne Pasta Tossed in Spinach Gravy: Quick & Healthy Pasta Recipe

Penne Pasta Tossed in Spinach Gravy: Quick & Healthy Pasta Recipe


Pasta recipes are so frequent in my home, we love it!  Whenever we get those uncalled hunger pangs especially in the evenings, I don’t prefer that 2- minutes ready to eat noodles packet, they might be delicious and easy to make but lets face it, it is full of empty calories, zero nutrition. Spinach Pasta Recipe that I am sharing is so easy to make, super delicious & has nutritional value.

I like experimenting with different pasta shapes, my recipe says Penne Pasta but you can use any form of pasta that’s available at your home. I have made this recipe using Spiral & Macroni Pasta as well, it turned out equally tasty. 


Penne Pasta Tossed in Spinach Gravy: Quick & Healthy Pasta Recipe


Click “Print” or “PDF” button below to save this recipe!
You will need:


·         2 Tbsp Olive Oil
·         1 Cup Blanched Spinach Puree
·         1 Tsp Black Pepper Powder
·         1 Tsp Chilli Flakes
·         1 Tsp Oregano
·         2 Tbsp Fresh Cream
·         1.5 Cup Boiled Penne Pasta (1 Cup Raw Penne Pasta)
·         2 Tsp Grated Processed Cheese
·         Salt to taste

Serving: 2 persons


Steps to Make Penne Pasta Tossed in Spinach Gravy: 


  1. Begin by heating oil in a pan, if you don’t have Olive Oil, you can use regular cooking oil as well. During the whole process keep the burner flame on low/medium setting.
  2. Proceed by adding the spinach puree. Since it is already cooked, sauté it for about 2 minutes. 
  3. Season the spinach puree with salt, black pepper powder (freshly grounded tastes amazing!) chilli flakes & oregano. Give a quick stir and allow the tastes of spices merge into puree for a minute or so.
  4. Now to make the pasta creamy, add in the cream, you can use ‘ghar ki malai’ or a store bought cream packet. I always prefer the homemade version. Cream will add texture to the gravy which is much needed in a pasta dish. 
  5. Follow it by adding boiled Penne Pasta. Give it a quick mix and stir fry on high flame for another 1-2 minutes and pasta is ready. 
  6. Serve in a plate and sprinkle some cheese over it for garnish. This recipe doesn’t really need much to garnish, the vibrant green spinach is enough to make it appealing to the eyes & appetite!

Important Pointers:

  •  Even though this recipe is already packed with nutrients but if you are on diet then you can altogether skip the cheese. In case you want to make your pasta creamier then add about 2 Tbsp Cheese along with Cream while making it.
  • You can even boil the pasta in a batch and store away a portion in an air tight container in refrigerator for next use, but make sure you consume it within 2-3 days of storing. 
  • Use pasta which is made of part Semolina & part flour or even better use a Whole Wheat Pasta, this will knock down good amount of calories.
  • For quick blanching of spinach & boiling of pasta, first blanch spinach for 1-2 minute in boiling water and keep aside, then in the same water, boil your pasta for 8-10 minutes or as instructed on the packet.  I like my pasta to be slightly overdone, I boil it for about 12-15 minutes.
Food Trivia: Did you know spinach is low in calories and is an excellent source of vitamin K, vitamin A, magnesium, folate, manganese, iron, calcium, vitamin C, vitamin B2, potassium, vitamin B6!

If you want to see how I made this Quick Spinach Penne Pasta, then head over to video recipe by clicking this link:

Click “Print” or “PDF” button below if you want to save this recipe!