Category Archives: easy indian recipe

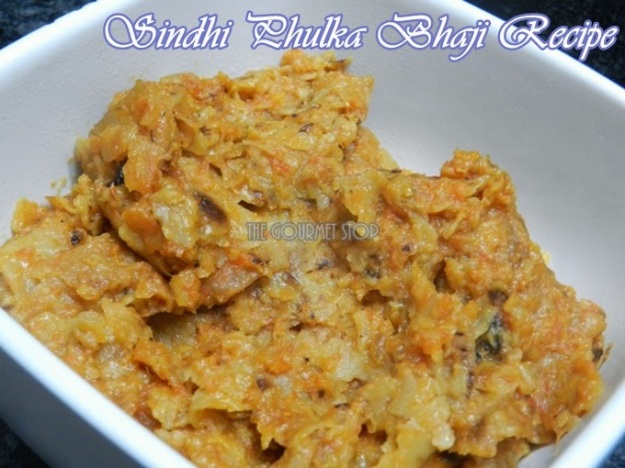
Sindhi Phulka Bhaji Recipe: One Meal Indian Recipe!

Sindhi Phulka Bhaji Recipe: One Meal Indian Recipe!

Sindhi Phulka Bhaji Recipe: One Meal Indian Recipe!

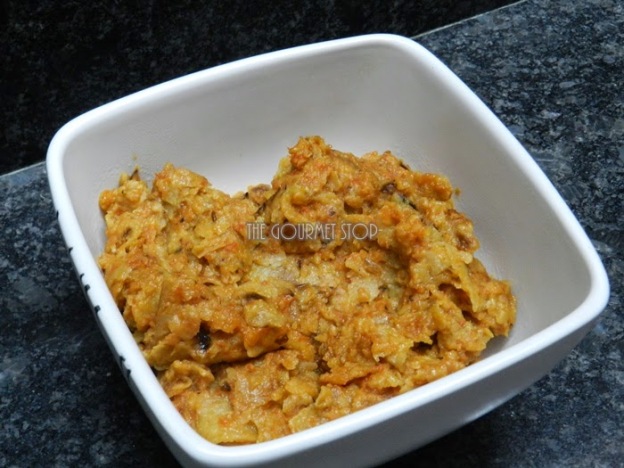
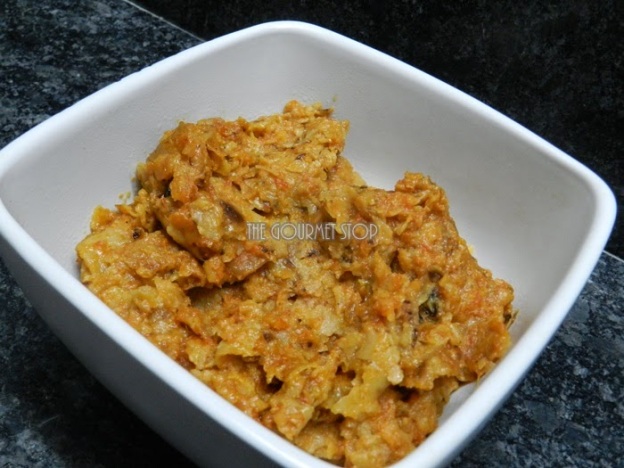
If you like me, end up with leftover rotis every other day, then this recipe is perfect for you – Sindhi Phulka Bhaji! It gives you wholesome feel and can easily be categorized under ‘One Meal Recipe’. It is so delicious that sometimes I purposely make extra rotis during lunch preparation so that I can enjoy this amazing dish for dinner! It is my saviour on days when I am not sure what I should cook for breakfast or dinner. It needs few ingredients and is quick fix food.


Sindhi Phulka Bhaji Recipe: One Meal Indian Recipe!

Sindhi Phulka Bhaji Recipe: One Meal Indian Recipe!

Click “Print” or “PDF” button below to save this recipe!

You will need:

1 Medium Sized Onion Diced
4-5 Garlic Cloves
4 Green Chillies Whole
1 Inch Ginger Piece
4 Medium Sized Tomatoes Diced
½ Tsp Turmeric Powder
1 Tsp Red Chilli Powder
6 Tbsp Oil
1 Tsp Cumin Seeds
8-10 Leftover Chappatis/Rotis
1 – 1.5 Cup Water
Salt to taste

Serving: 2-3 Persons

Steps to Make Sindhi Phulka Bhaji:

  1. In a grinding jar, add onion, tomatoes, garlic cloves, ginger & green chillies. Also, add spices – salt, turmeric powder & red chilli powder. Grind it to a smooth paste.
  2. Remove the paste in a bowl & keep it aside.
  3. In a deep pan, heat oil and add cumin seeds. Allow it to crackle.
  4. Divide each roti/chappati into half. Apply the paste to each half of the roti & place it in the pan.
  5. Allow the rotis to crisp on one side on medium flame – light brown color. It will take about 5-7 minutes.
  6. Flip the rotis carefully, and let it crisp on the other side for about 5-7 minutes.
  7. Once it is cooked, add remaining gravy, if any.
  8. Add water and cook on high flame till the water gets absorbed completely.
  9. Cover the pan with lid for 2 minutes and turn the flame to low.
  10. Serve hot.

Other leftover recipes: Leftover Rice Stuffed Paratha

If you want to see how I made this Sindhi Phulka Bhaji, then head over to video recipe by clicking this link:


Click “Print” or “PDF” button below to save this recipe! 

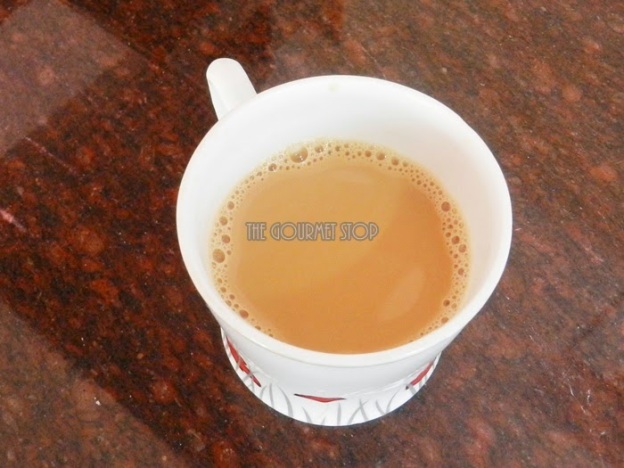
Indian Spiced Chai/Tea Recipe: Cinnamon & Cardamom Flavor Chai/Tea

 Indian Spiced Chai/Tea Recipe: Cinnamon & Cardamom Flavor Chai/Tea

Indian Spiced Chai/Tea Recipe: Cinnamon & Cardamom Flavor Chai/Tea

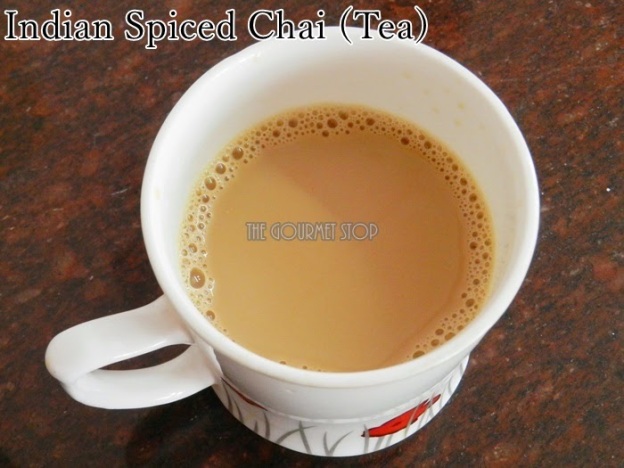
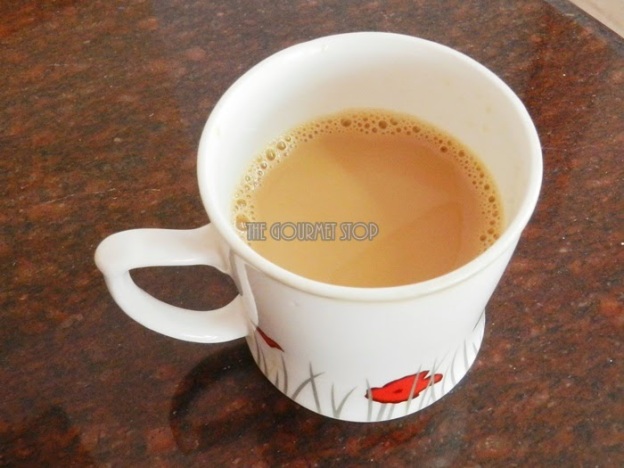
Some love coffee, for some its tea!  I am tea-lover and I can’t start my day without the dose of tea. Green tea is known to be a healthier option but I preserve that for later part of the day. In the morning, I NEED my flavoured version of “Chai”!  Here is a quick variety of Cinnamon & Cardamom flavoured tea. Both these flavours compliment each other so well and this tea instantly re-energises body. I even opt for this flavour when I am having severe headache. It instantly soothes & relaxes me.

Indian Spiced Chai/Tea Recipe: Cinnamon & Cardamom Flavor Chai/Tea

Indian Spiced Chai/Tea Recipe: Cinnamon & Cardamom Flavor Chai/Tea

Click “Print” or “PDF” button below to save this recipe!

You will need:

1 Inch Piece of Cinnamon/Dalchini
1 Piece Green Cardamom/Elachi – Roughly Pounded
1/2 Cup Water
1/2 Milk (Toned or Full Fat)
1 Tsp Sugar
1 Tsp Tea (Granulated)

Serving: Single

Steps to Make Indian Spiced Tea/Chai:
  1. In a sauce pan, add water, cinnamon, cardamom and allow it to come to boil.
  2. Add tea. Mix it with spoon and allow it to brew for 1-2 minutes on medium flame.
  3. Now add milk and sugar. Mix and let it brew for 2-3 minutes more depending upon how strong you  like your tea to be.
  4. Strain into a cup & enjoy!

Serving Suggestion: Enjoy the hot cup of tea with Chana DalKhaman, Khatta Meetha Dokhla, Homemade Rice Chips or Leftover Rice StuffedParatha!

If you want to see how I made this Indian Spiced Tea/Chai, then head over to video recipe by clicking this link:

Click “Print” or “PDF” button below to save this recipe!

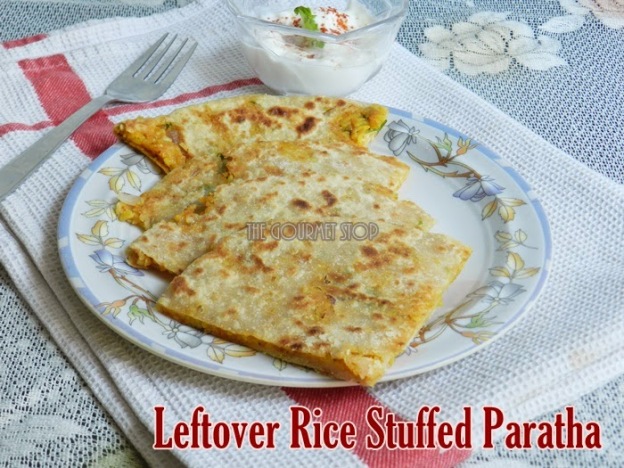
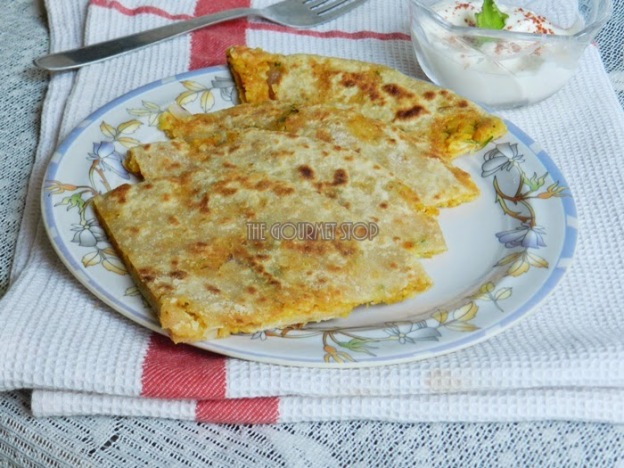
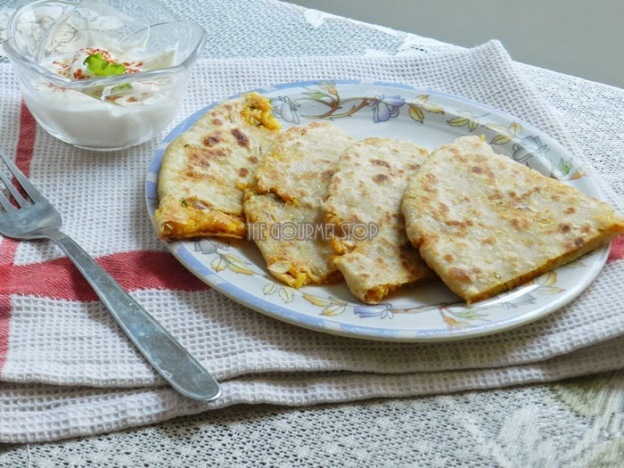
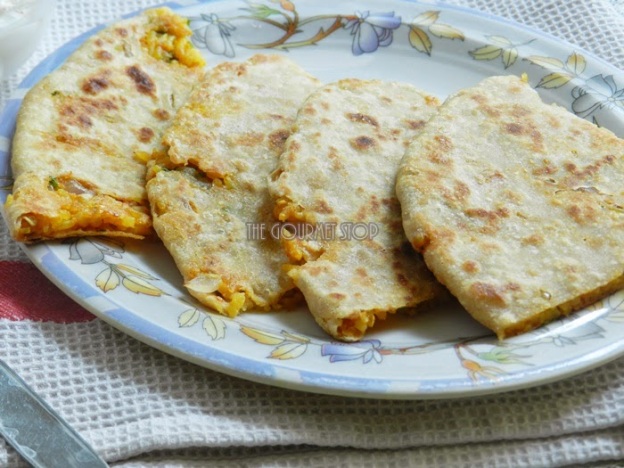
Leftover Rice Stuffed Paratha Recipe

Leftover Rice Stuffed Paratha Recipe


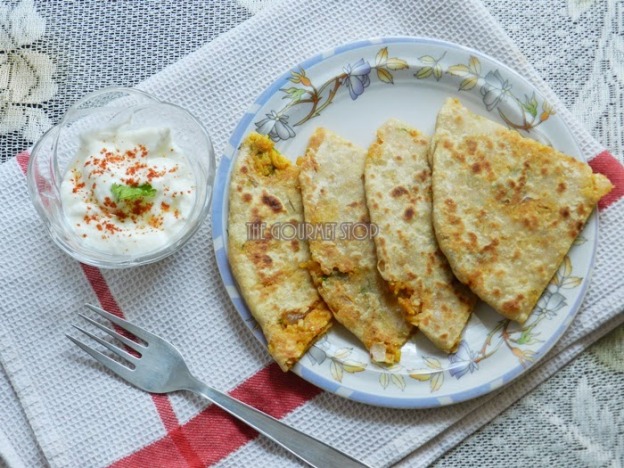
Simple plain rice is not a favourite recipe at my home, unless it is served with some spicy accompaniments like dal, rajma, chole, sambhar or some curry. Like, last week I made this simple rice with some cumin, turmeric, red chilli powder, potatoes & salt for my nephew (because he is a toddler!!); he sniffed it, tasted a bite, made a funny face and went back to playing! Basically, he didn’t like the taste of simple yellow rice!! So, there I had a leftover which needed to be tweaked, re-cooked & served to be loved by all. So, I came up with this interesting Leftover Rice Stuffed Paratha. I am been cautions about the calories here, so I have used little oil for cooking, you can of course shallow fry it as per your liking. Also, you can top up the paratha with a gallop of butter if you like! Yum!

Click “Print” or “PDF” button below to save this recipe!

Leftover Rice Stuffed Paratha Recipe

You will need:

1 Cup Leftover Rice
1 Medium Sized Onion Chopped
1 Green Chilli Chopped
1 Tbsp Coriander Leaves Chopped
1 .5 Tsp Red Chilli Powder (or as per taste)
1/2 Tsp Coriander Seeds Powder
2-3 Tsp Oil per Paratha
Wheat Flour Dough as required
Salt to taste

Serving: Makes about 4 Parathas

Steps to Leftover Rice Stuffed Paratha:

  1. In a mixing bowl, add leftover rice & mash the rice with your hand or in a blender.
  2. Now add in onion, green chillies, coriander leaves & mix well.
  3. Add spices – salt, red chilli powder, coriander seeds powder & mix again.
  4. Keep this stuffing aside.
  5. For rolling paratha, on a flat surface take about tennis ball size of dough & with a rolling pin, roll the dough till half way. Use dry flour to roll as needed.
  6. Place about 2-3 Tbsp stuffing kept aside at the centre of the rolled dough.
  7. Now start sealing the dough to form a round ball like shape, pressing the stuffing in.
  8. With the help of dry flour & rolling pin start rolling the stuffed dough using very light pressure & keep  sealing the ends with fingers as you roll.
  9. Quickly run a knife below the paratha in case it might have got stuck at the base.
  10. Heat a pan/tawa, drizzle oil.
  11. Place the paratha in the pan carefully.
  12. On medium flame let it cook for 30-40 seconds.
  13. Now flip the paratha with a spatula.You will see some light brown spots.
  14. Apply oil on one side & after 30-40 seconds flip it again.
  15. Press lightly with spatula & cook for another 20-30 seconds.
  16. Repeat the process other side – apply oil, flip over, press gently with spatula for few seconds.
  17. Turn the flame on high & cook for 5-8 seconds.
  18. Flip again, cook for 5-8 seconds & turn off the gas.
  19. Paratha is ready to be served.
  20. Serve with curd & top it up butter (optional).


Important Pointers:


  • Since I used rice which already had some spices in it, I didn’t add lot of spices. But if you are using plain white rice, then add turmeric powder & increase the quantity of other spices.
  • I have used very little oil for cooking. You can shallow fry it too.
  • Top up Paratha with Ghee or Butter if desired.

If you want to see how I made this Ginger Lemonade, then head over to video recipe by clicking this link:
Click “Print” or “PDF” button below to save this recipe!
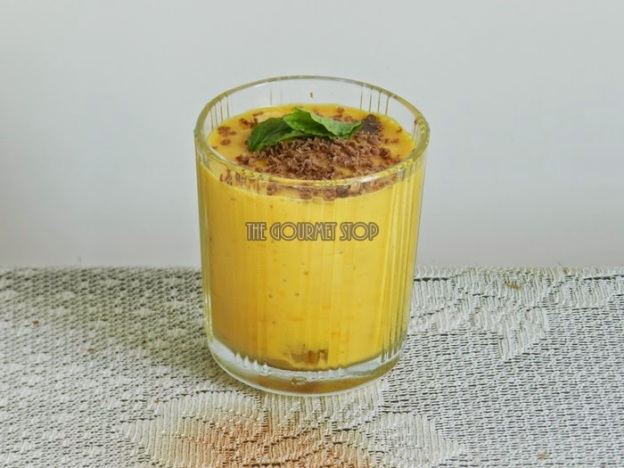
Chocolate Mango Milkshake Recipe : Easy Summer Milkshake Recipe

Chocolate Mango Milkshake Recipe : Easy Summer Milkshake Recipe

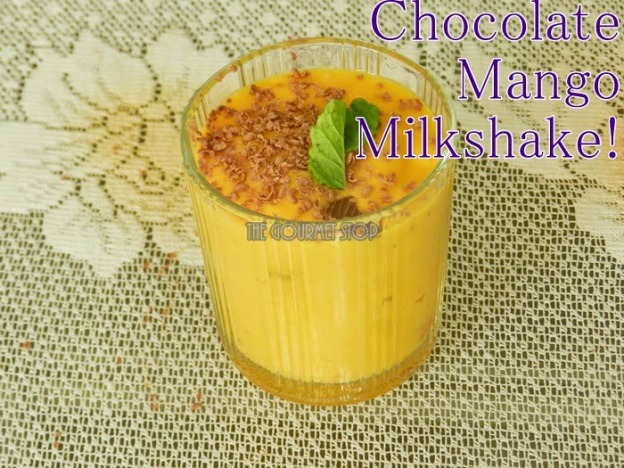
Summer time is equal to mango time in our home! We are some serious mango lovers and basically can have mangoes at anytime of the day & in any form. So, I decided to mix two of my favourite ingredients – chocolate & mangoes to create this amazing Milkshake. Chocolate + Mangoes = Yummy combination! It is again so easy to make & seriously delicious! If you choose ripe & sweet mangoes then probably you can skip the sugar completely! Plus the chocolate adds sweetness too!

Click “Print” or “PDF” button below to save this recipe!

Chocolate Mango Milkshake Recipe : Easy Summer Milkshake Recipe

You will need:

1 Cup Juicy ripe mango cut into pieces
400 ml Chilled Milk
2 Tbsp Powdered Sugar or as per taste
16 gm Milk Chocolate ( my choice Cadbury Dairy Milk)
Ice Cubes
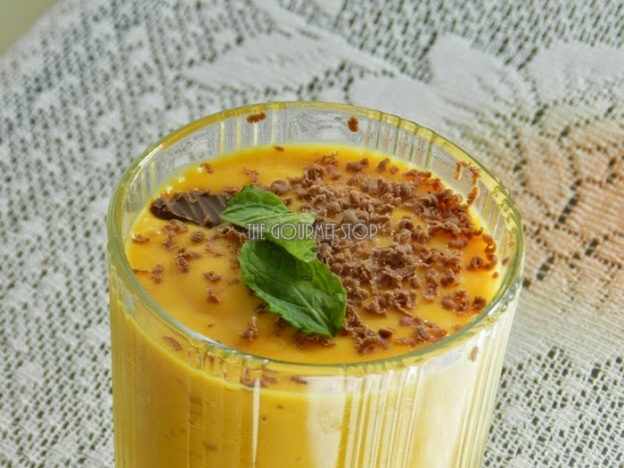
Mint leaves & grated Chocolate for garnish

Steps to Make Chocolate Mango Milkshake:

1.       In a blending jar, add mango pieces, powdered sugar & chocolate pieces.
2.       Cover the lid & blend it for 20-30 seconds.
3.       Try to not blend the chocolate pieces a lot.
4.       Add Milk & churn for 20-30 seconds more.
5.       In a serving glass, add ice cubes & pour the Chocolate Mango Milkshake over the ice.
6.       Garnish with grated chocolate & mint leaf. 

Important Pointers:
·         You can use regular sugar if you don’t have powdered sugar.
·         I am using chocolate directly from the fridge, to avoid blending the chocolate completely. You would like to retain some pieces.

If you want to see how I made this Chocolate Mango Milkshake Recipe, then head over to video recipe by clicking this link:

Click “Print” or “PDF” button below if you want to save this recipe!

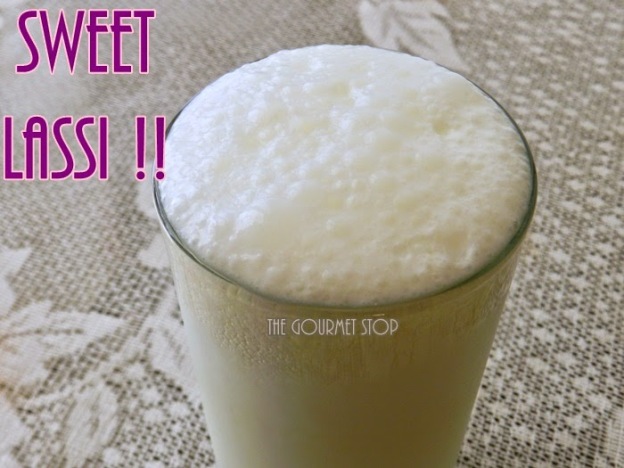
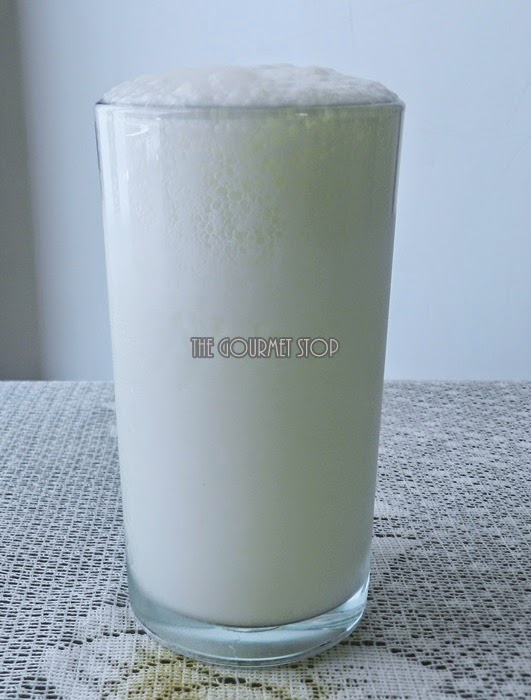
Traditional Punjabi Sweet Lassi Recipe: Indian Yoghurt Smoothie Recipe!

Authentic Punjabi Sweet Lassi Recipe: Indian Yoghurt Smoothie Recipe!
Traditional Punjabi Sweet Lassi Recipe: Indian Yoghurt Smoothie Recipe! 

When I visited my Aunt in Punjab sometime ago, she made this amazing Sweet Lassi for us! It was sooooo delicious that it left us licking our lips after every sip! Not to mention it was kind of heavy for our appetite & when it is served in tall brass glass, you can easily skip a meal. I had to get this recipe & wanted her tips & tricks to make that perfect glass of Sweet Lassi to beat the heat this summer!

My aunt began by telling me that even with all the new age gadgets available in kitchen, she prefers making it traditional way – with a Wooden Churner or Madhani! She says no blender can beat the taste of Lassi made with Madhani & I totally have to agree with her on this! If you use a Madhani, then you can in no way over beat/muddle the curd whereas with a blender in a matter of seconds curd can turn into butter, spoiling the Lassi! She also did mention that always use fresh curd made from full fat milk for creamier Lassi. Fresh curd has slight sweetness to it & you can cheat on by adding less sugar. And of course, in Punjab they have to add a dollop of butter or cream on Lassi but I am totally gonna skip it!! Watching those extra calories 😉 Trust me it’s still going to taste super delicious!
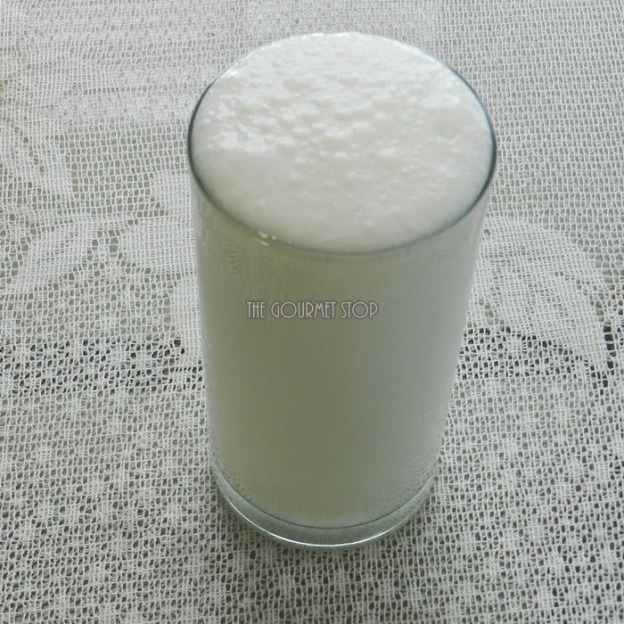
Authentic Punjabi Sweet Lassi Recipe: Indian Yoghurt Smoothie Recipe!

Authentic Punjabi Sweet Lassi Recipe: Indian Yoghurt Smoothie Recipe!
Click “Print” or “PDF” button below to save this recipe!

You will need:

1/2 Cup Full Fat Milk Curd (Fresh)
3 Tbsp Powdered Sugar or as required
1/2 Cup Chilled Water
4-5 Ice Cubes

Serving: 1 Glass

Steps to Make Authentic Punjabi Sweet Lassi:

1.       In a deep vessel, add curd & churn it with a Wooden Churner/Madhani or even a Muddler until it’s smooth & lumps free. It should take about 1-2 minutes.
2.       Add in powdered sugar & muddle for another 1-2 minutes.
3.       Once sugar is dissolved, add chilled water.
4.       Churn for another 1-2 minutes to get that froth! The more you churn, frothier Lassi will become. But make sure you do not overdo it.
5.       Pop in some Ice Cubes & serve chilled!

Important Pointers:

·         If you don’t have the wooden churner, just add everything in a blender & blend for 1-2 minutes maximum. Do not overbeat it or else curd will turn into butter.
·         We are using powdered sugar because it takes less time to dissolve.
·         Always use fresh curd to make Lassi.
·         Using chilled water will make the frothing process faster.

If you want to see how I made this Punjabi Sweet Lassi, then head over to video recipe by clicking this link:


Click “Print” or “PDF” button below to save this recipe!
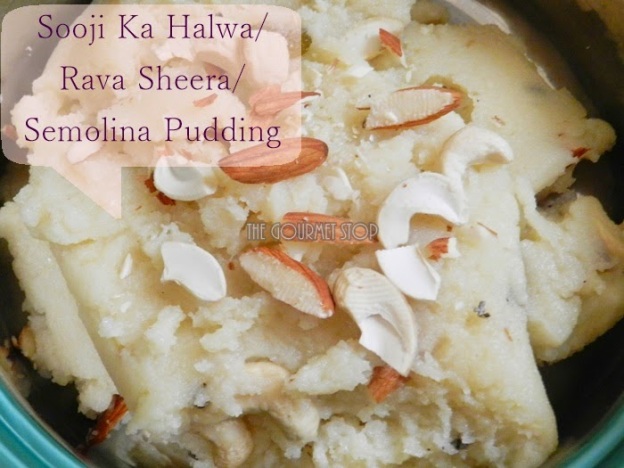
Sooji Ka Halwa – Rava Sheera Recipe – Little Less Calories Version!

Sooji Ka Halwa - Rava Sheera Recipe - Little Less Calories Version!

Sooji Ka Halwa – Rava Sheera Recipe – Little Less Calories Version!

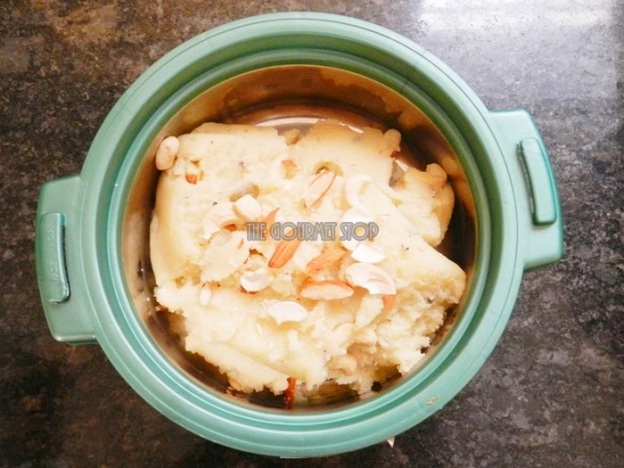
Sooji Ka Halwa or also known as Rava Sheera or Semolina Pudding is a very common sweet dish served across India. Sooji Ka Halwa is generally prepared in many households for poojas & ceremonies. Generally accompanied with savory Chole Puri or Aloo Puri, it is one delicious & simple recipe to cook. Though the ratio of sooji (semolina), sugar & ghee (clarified butter) are used in equal proportion, I have tweaked the recipe to bring the calories count down a bit.

Sooji Ka Halwa - Rava Sheera Recipe - Little Less Calories Version!

Click “Print” or “PDF” button below to save this recipe!
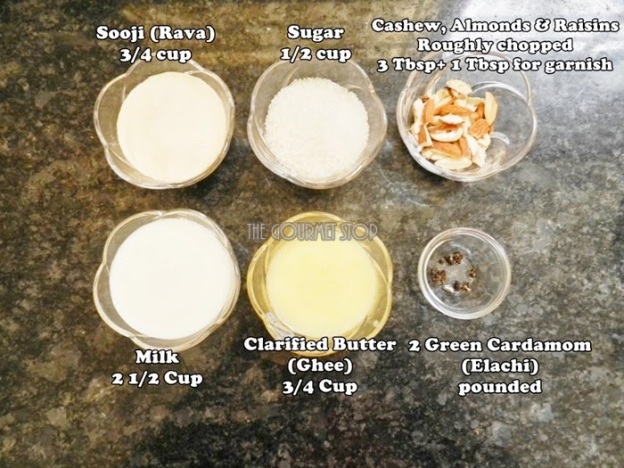
You will need:

3/4 Cup Rava/Sooji/Semolina (use the fine variety of rava)
1/2 Cup Sugar (original recipe says 3/4 Cup)
3/4 Cup Ghee/Clarified Butter
2 ½ Cup Milk (Full fat or low fat as you prefer)
3 Tbsp + 1 Tbsp Roughly chopped Cashewnuts, Almonds & Raisins
2 Green Cardamom/Elachi pounded

Serving: 2-3 persons

Steps to Make Sooji Ka Halwa:  

  1. In a deep pan, begin by mixing sooji & ghee. 
  2. Turn on the gas on low flame & let it cook till ghee separates from sooji. 
  3. Keep stirring frequently or continuously to make sure sooji doesn’t burn. It will take about 6-7 minutes. 
  4. Once the ghee separates, let it cook till sooji turns slightly pink in color. 
  5. Once it reaches the desired color, add milk & keep on stirring it continuously. Make sure there are no lumps. 
  6. When sooji absorbs the entire milk & the mixtures leaves the pan sides, its time to add the sugar. 
  7. And when sugar completely dissolves in the mixture, add green cardamom, dryfruits.
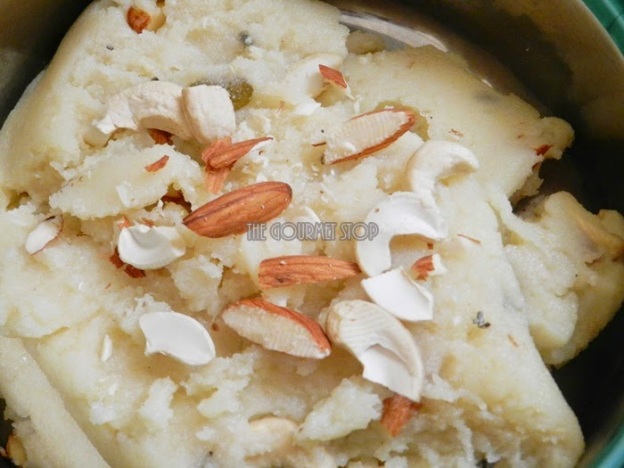
  8. Turn off the gas & garnish it with few more nuts.

Important Pointers: 

  • Many people prefer their halwa to be a little dark but I prefer it whitish in color. If you want  pinkish brown color then continue cooking for few more minutes at Step 3.
  • I have added only ½ Cup sugar as opposed to ¾ Cup but you can add more if you like your halwa to be sweet.
Sooji Ka Halwa - Rava Sheera Recipe - Little Less Calories Version!

If you want to see how I made this Sooji Ka Halwa, then head over to video recipe by clicking this link:


Click “Print” or “PDF” button below if you want to save this recipe!

Basics 101: Green Coriander Chutney Recipe

Basics 101: Green Coriander Chutney Recipe

Let’s talk about something basic today, Green Chutney or Coriander Chutney. And keeping true to the motto of TGS – Easy & Tasty food, this recipe accompanies many many recipes! In my home, it is a ritual to make this Chutney twice a week, yes it is used that frequently! At all times Green Coriander Chutney is a must in my fridge. This Chutney is so versatile it can be served with Parathas, Theplas, various Snacks, in sandwiches & many more. Try it with Leftover Rice Stuffed Paratha Recipe & you will love the combo! I have another elaborated version of Green Coriander Chutney, which I will soon share here. I alternate between these two recipes, both tastes awesome.


Click “Print” or “PDF” button below to save this recipe!
You will need:

2 Tbsp Peanuts
1 Small Diced Onion
1 Lemon Juice
2-3 Green Chillies
1 Inch Piece Ginger
2 Cups Fresh Coriander Leaves
1/4 – 1/2 Cup Water
Salt to taste

Steps to Make Green Coriander Chutney: 

  1. In a grinding jar, start by adding peanuts onion and green chillies & blend them for 20-30 seconds.
  2.  Once grinded coarsely, add the fresh coriander leaves which is cleaned & washed properly. 
  3. Add seasoning (salt) to this mixture, followed by ginger pieces & lemon juice.  
  4. Finally some water to make smooth paste. Depending upon the quality of coriander & your grinder the water amount required will vary. Start by adding ¼ cup and add more water gradually as needed. 
  5. Grind this to a smooth paste and your Chutney is ready. 
  6. Store it in fridge, it easily lasts for a week.

Important Pointers:

  • You can increase the quantity of green chillies depending on the type your are using and how spicy you you’re Chutney to be. 
  • Ginger gives a nice fresh flavour to the Chutney.
  • Lemon juice helps in maintaining the vibrant green color of the chutney.
  • Coriander or cilantro is a wonderful source of dietary fiber, manganese, iron and magnesium as well. In addition, coriander leaves are rich in Vitamin C, Vitamin K and protein. They also contain small amounts of calcium, phosphorous, potassium, thiamin, niacin and carotene.
  • Coriander lowers bad cholesterol. It is very good for digestive system & good for diabetes patients as it lowers the sugar levels.

If you want to see how I made this Green Coriander Chutney, then head over to video recipe by clicking this link:


Click “Print” or “PDF” button below to save this recipe!